【Project】Sci-Fi Style Trophy
- Published on
Introduction
The sci-fi style trophy, which I was commissioned to make in November 2017 by the Hsinchu Hackathon officials, aimed to present a sense of technology and embody the creativity of makers.
This piece technically incorporates two major maker tools: laser cutting and 3D printing, complemented by a LED switch circuit I soldered myself.
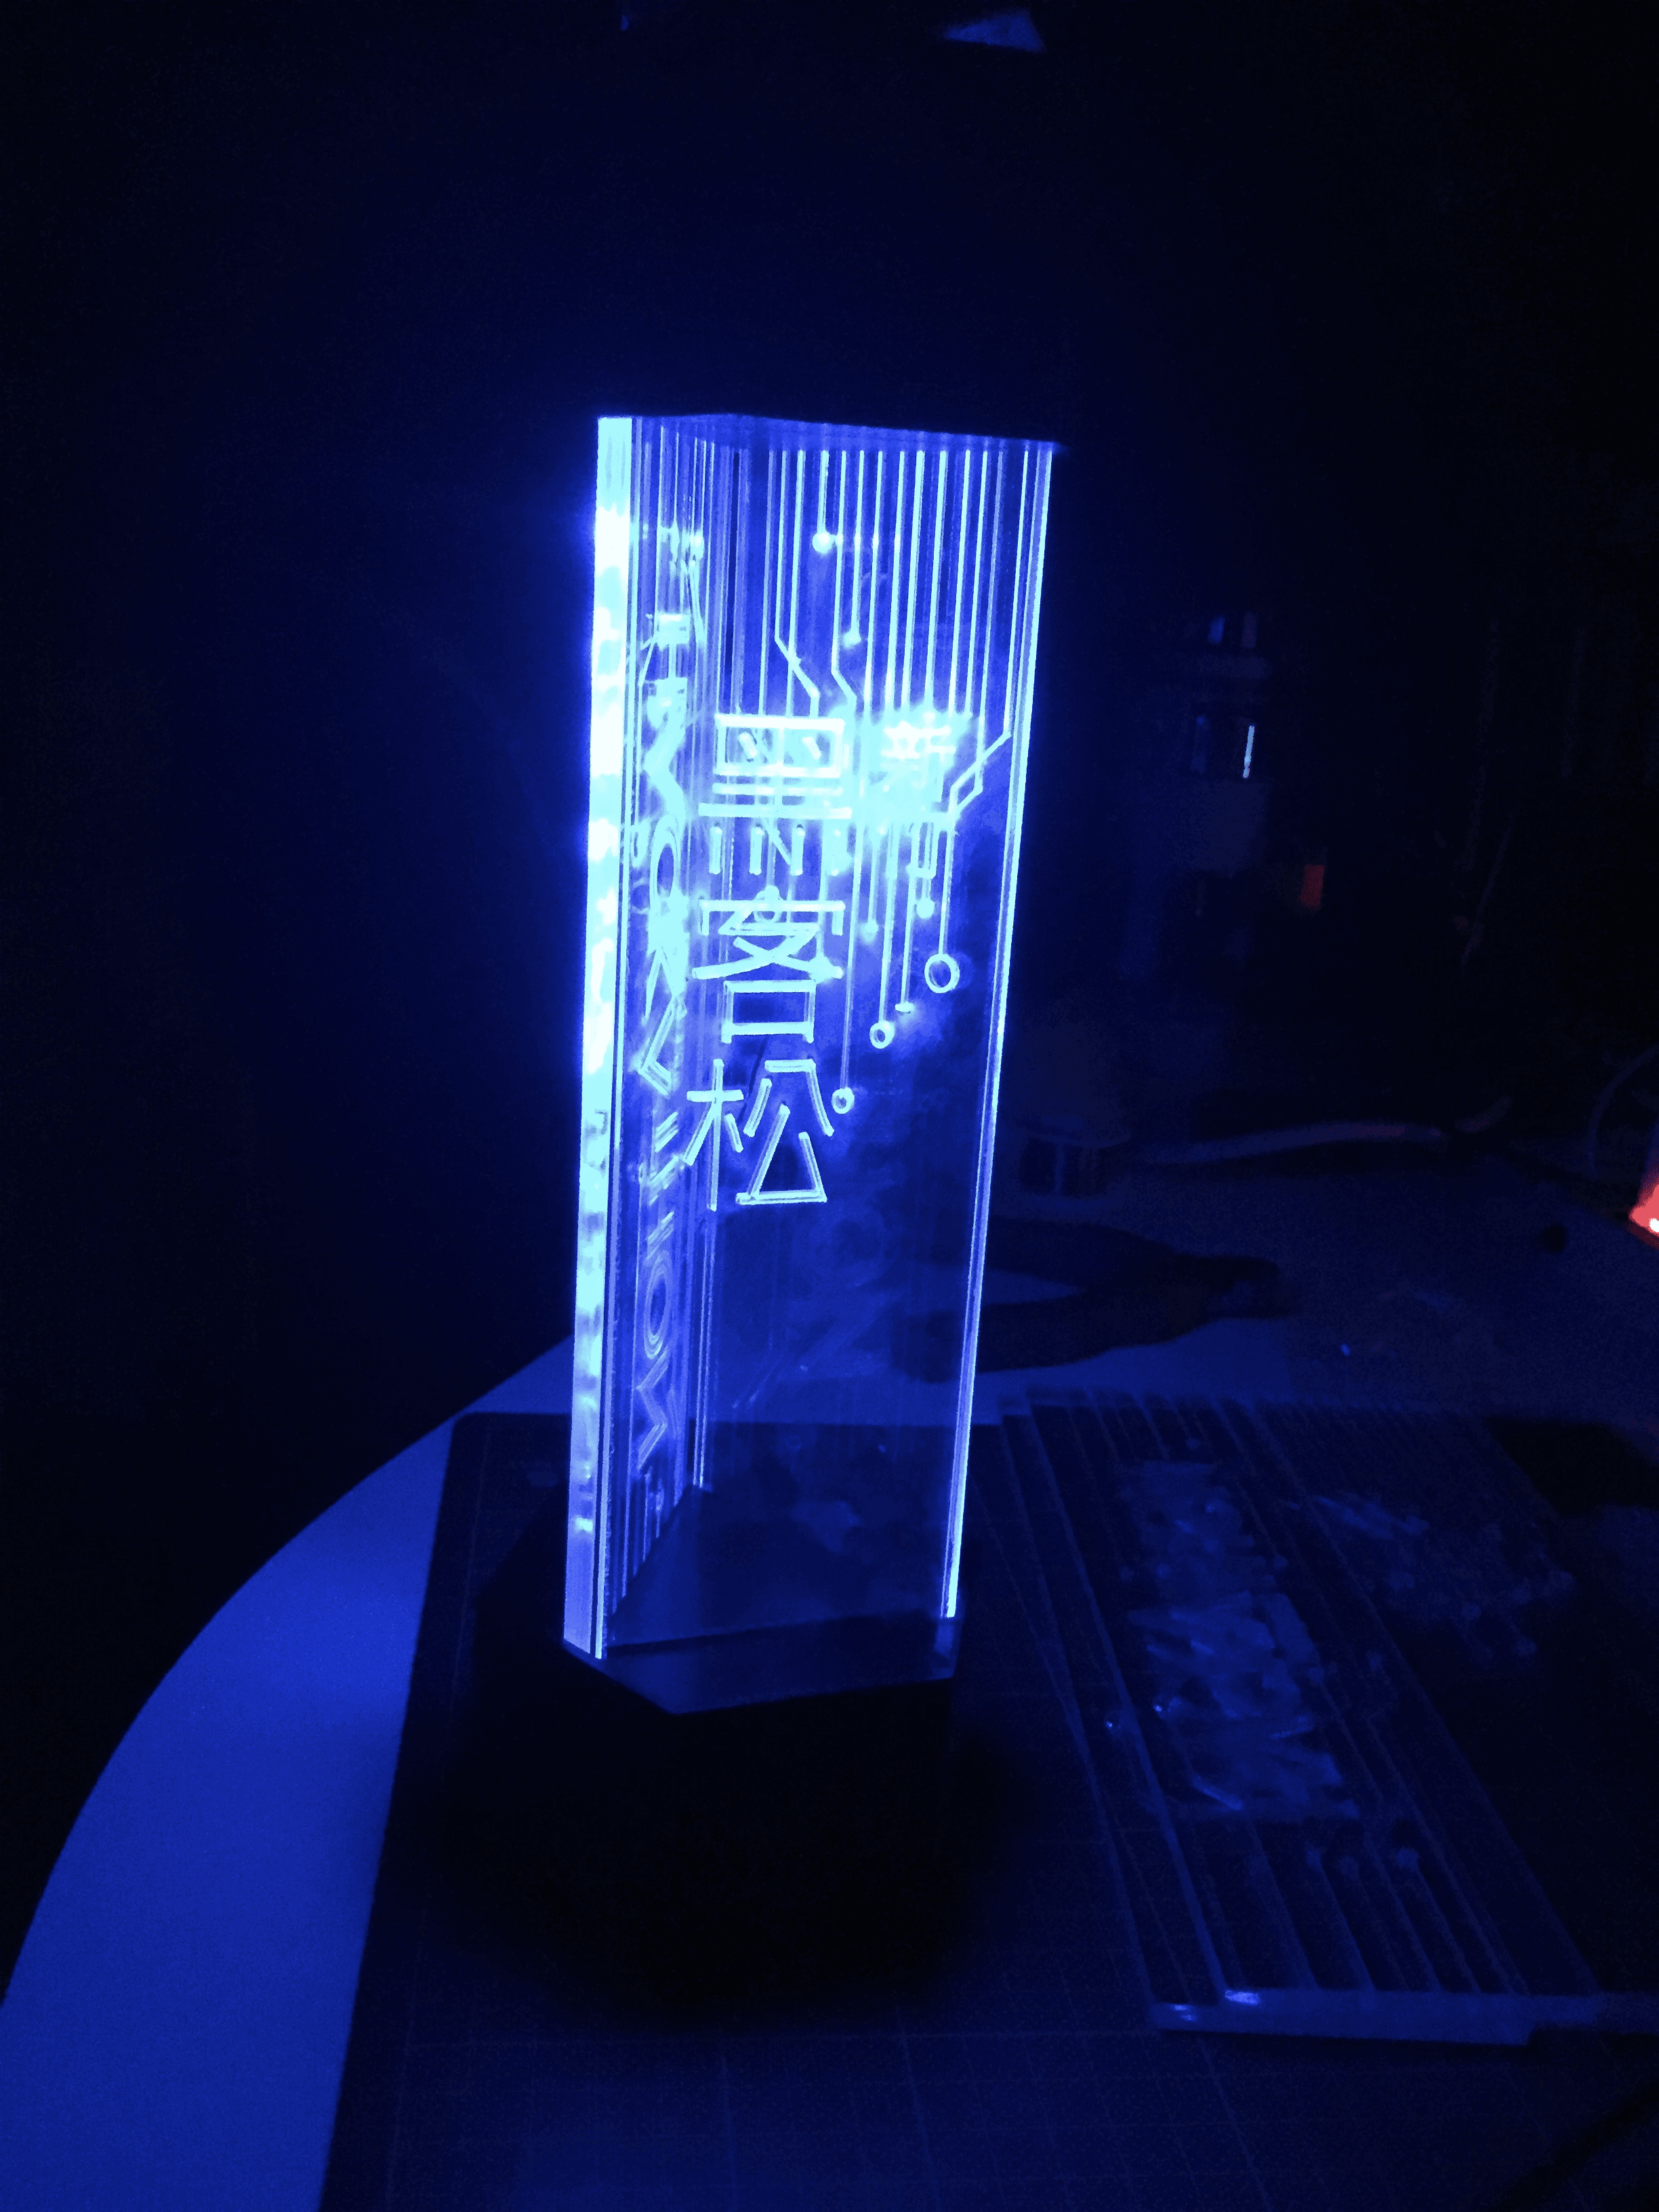
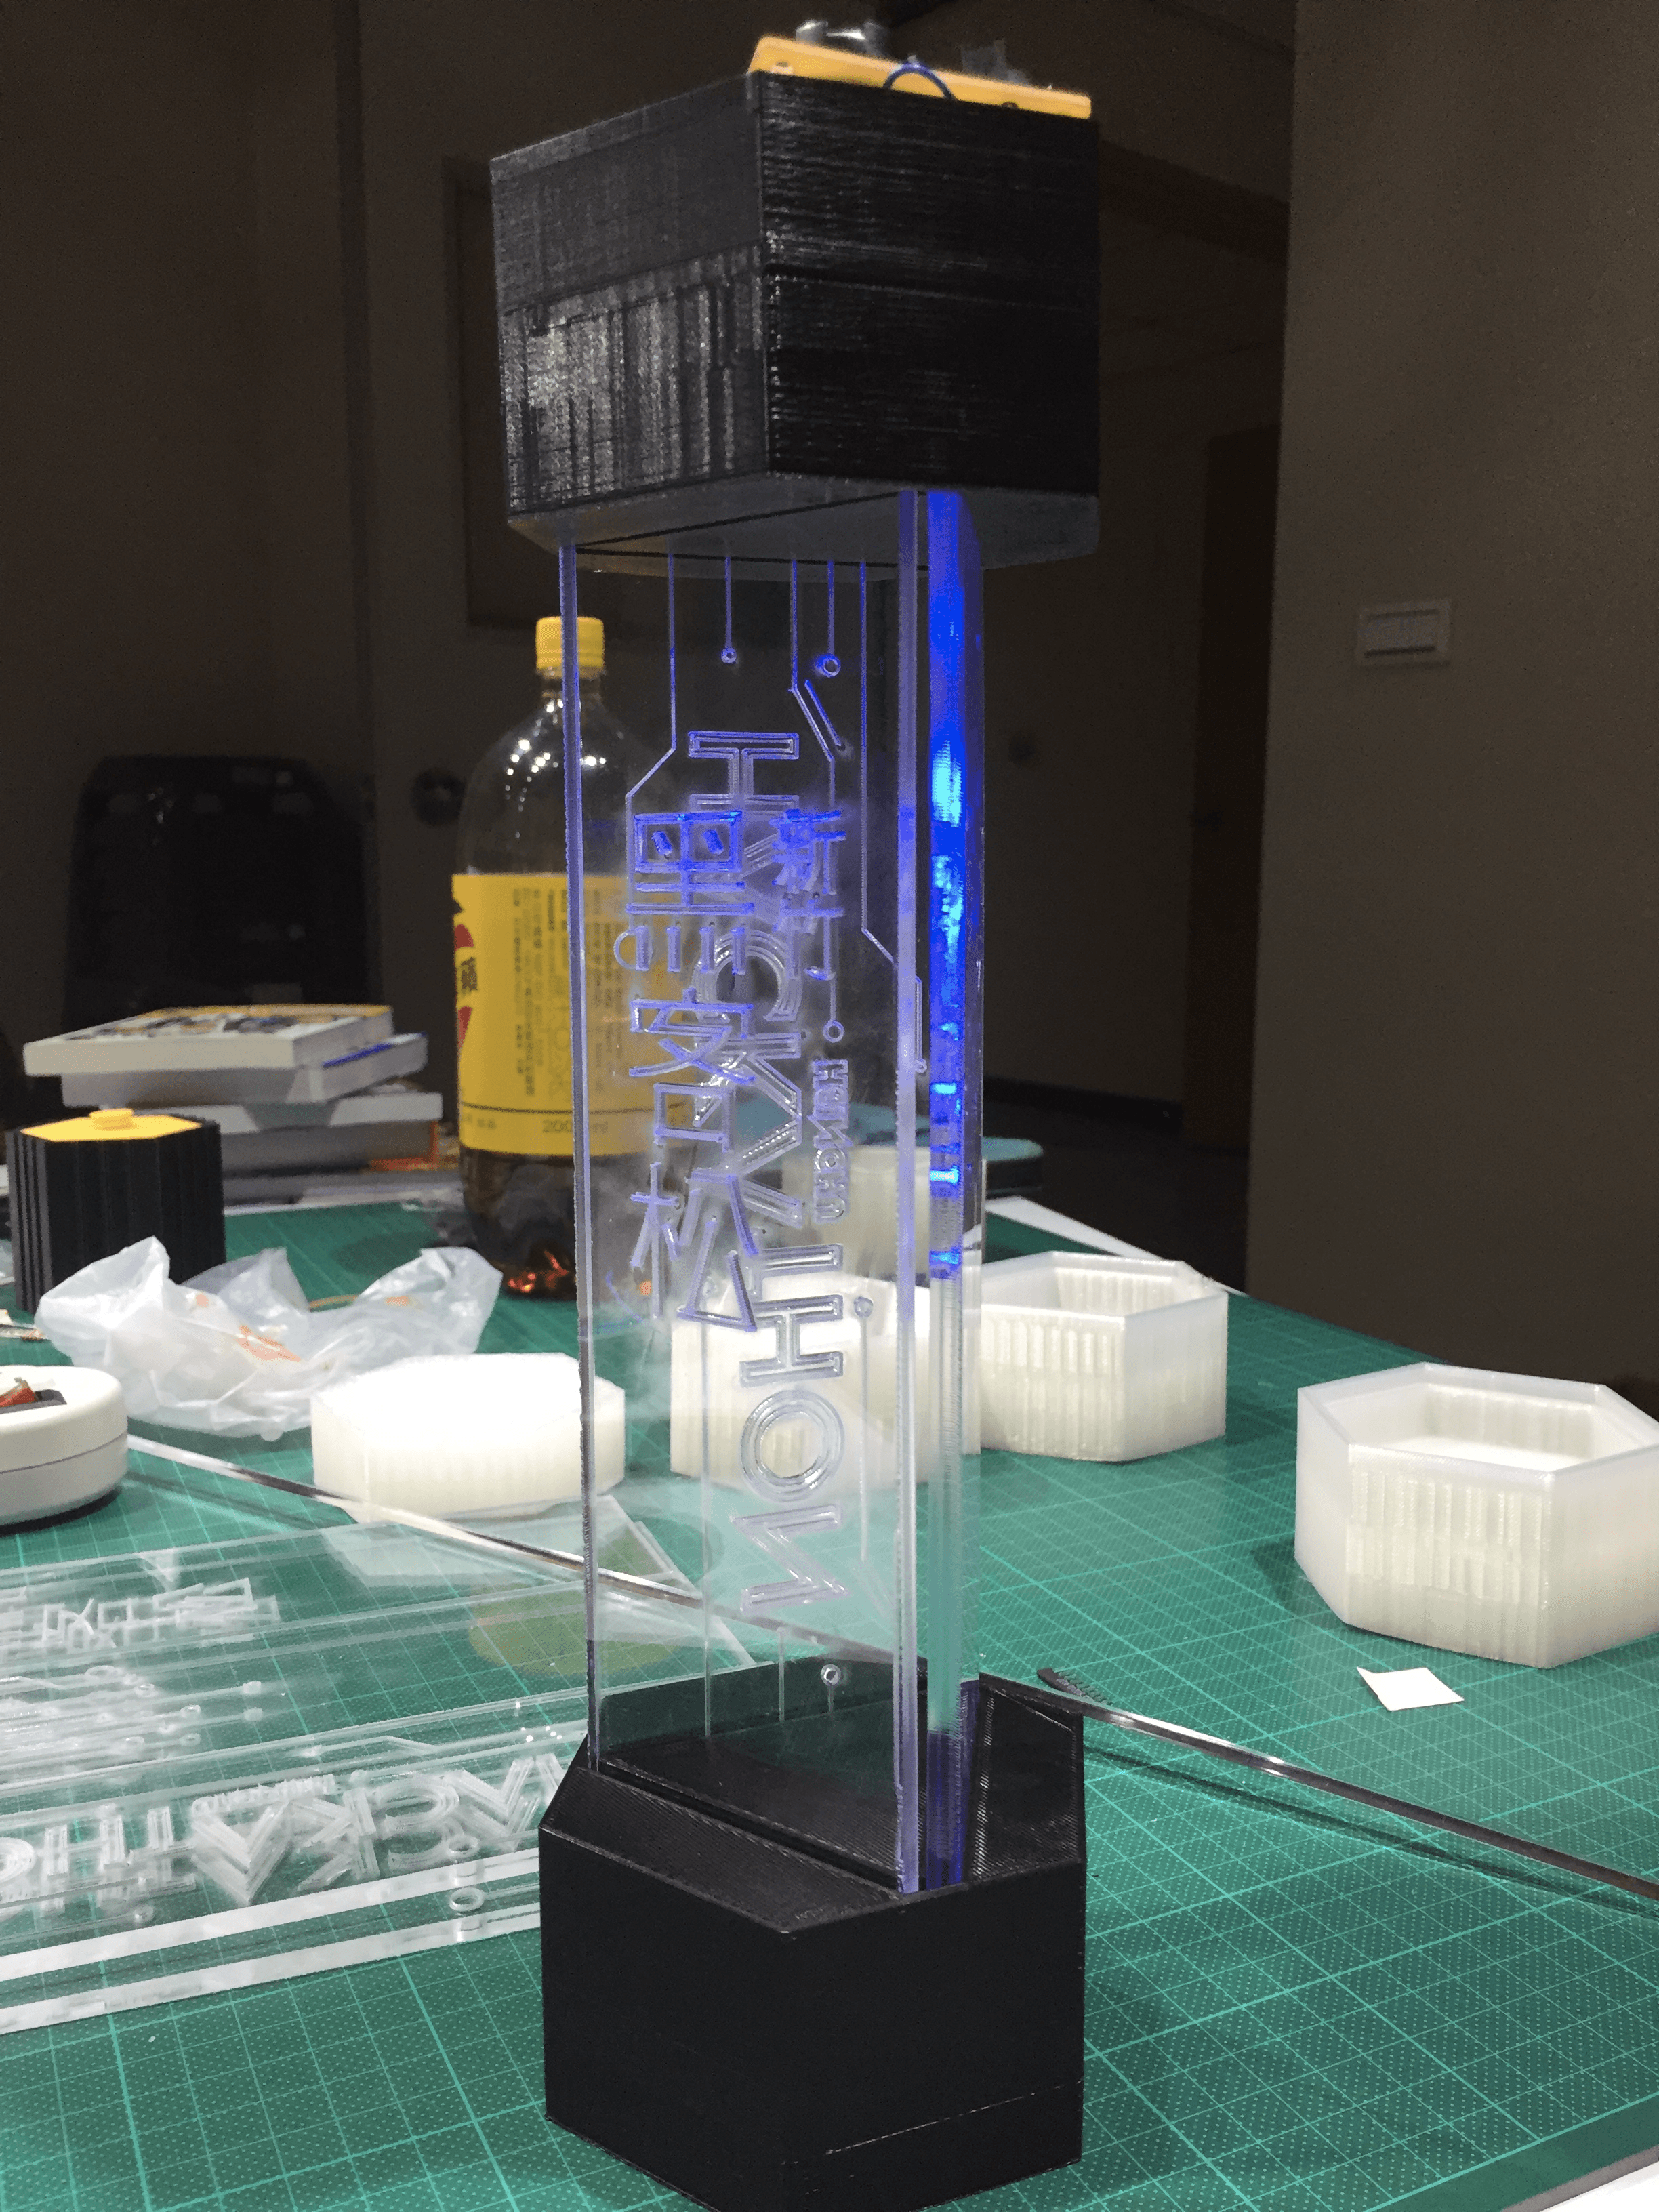
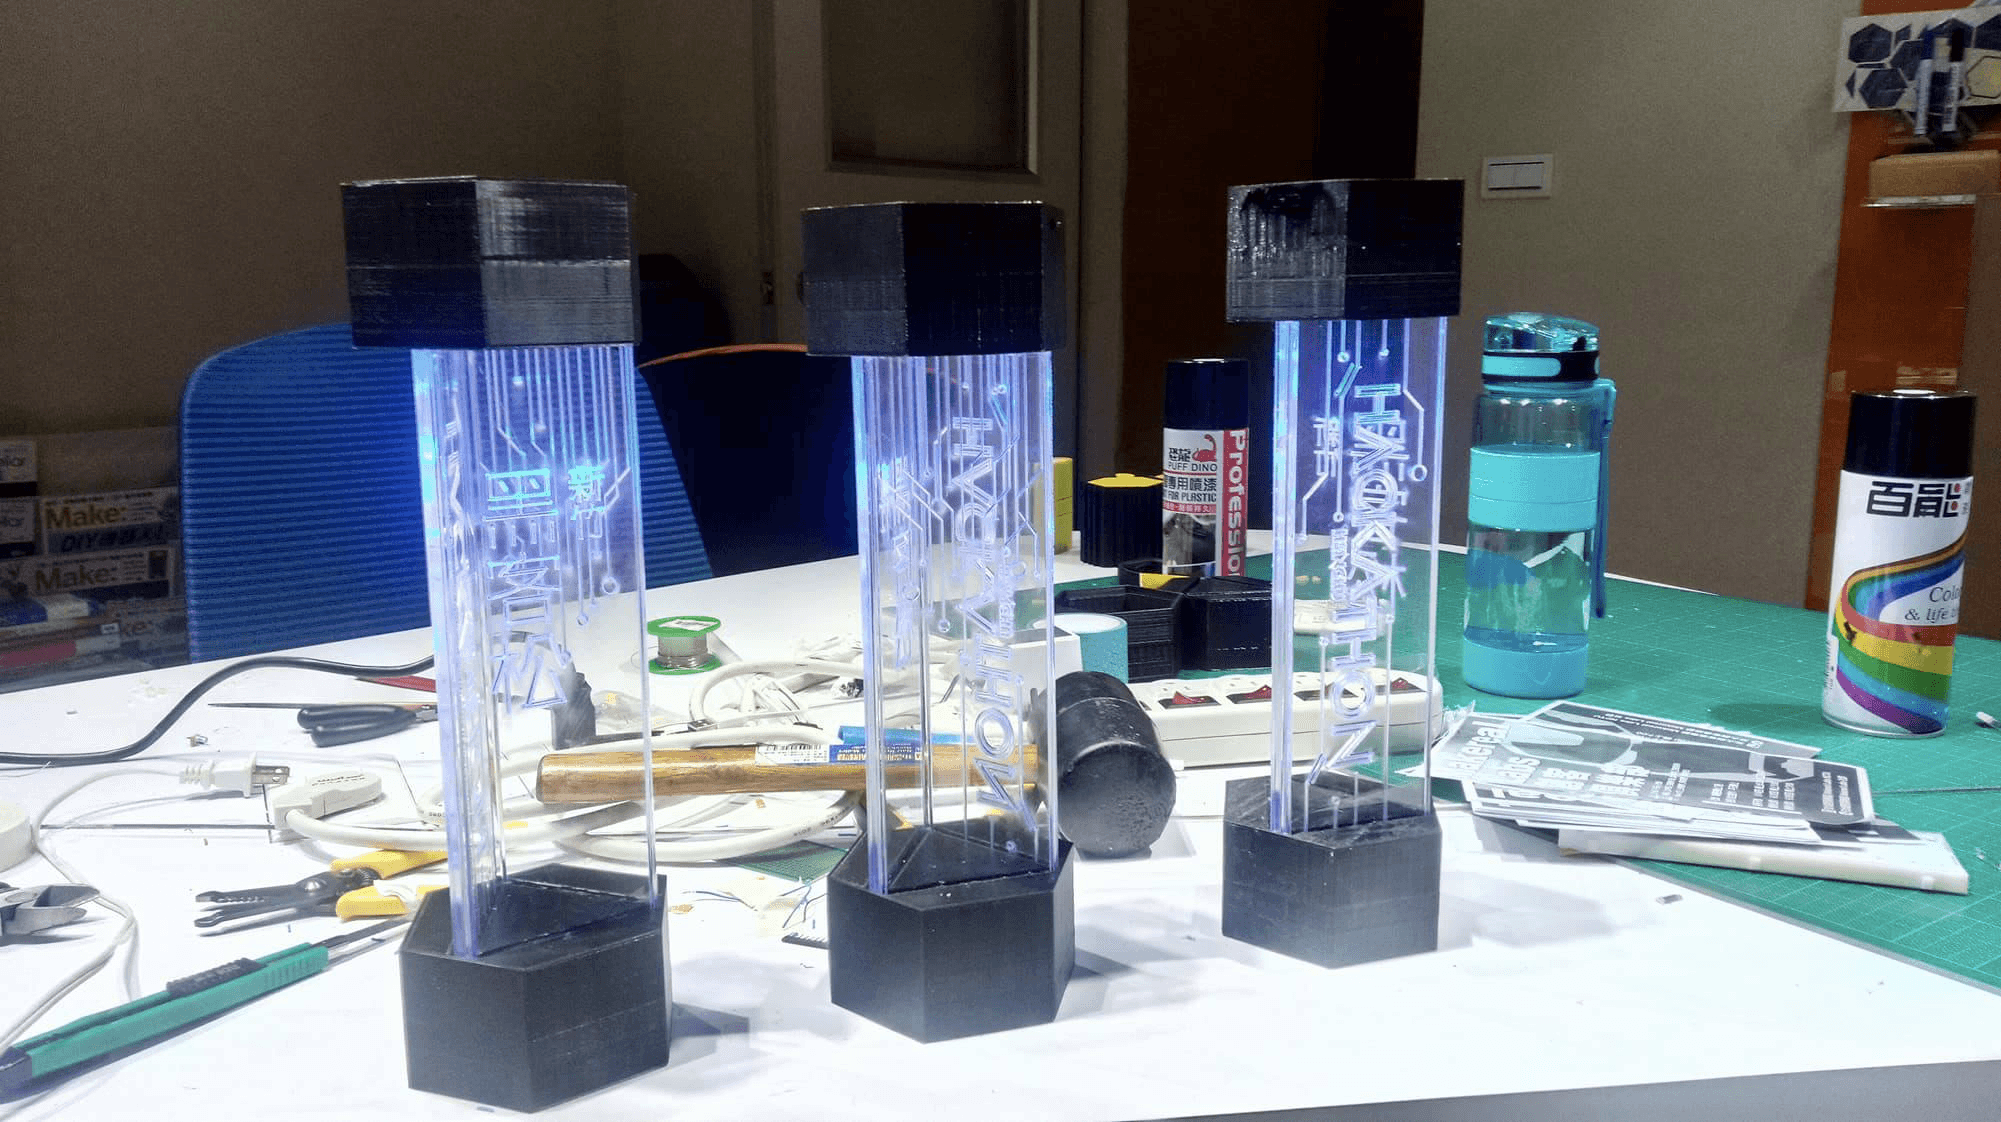
The structure is made of a black 3D printed base at both ends, clamping three laser-cut acrylic plates to form the triangular prism body of the trophy. Inside the upper base of the trophy, there are 6 blue LED lights illuminating the acrylic plates, controlled by a toggle switch. The LED lights are powered by button cell batteries.
Creators: Micheal, Eric, Eason
Project inspiration from: Glowing Circuit Board Lamp - Instructables
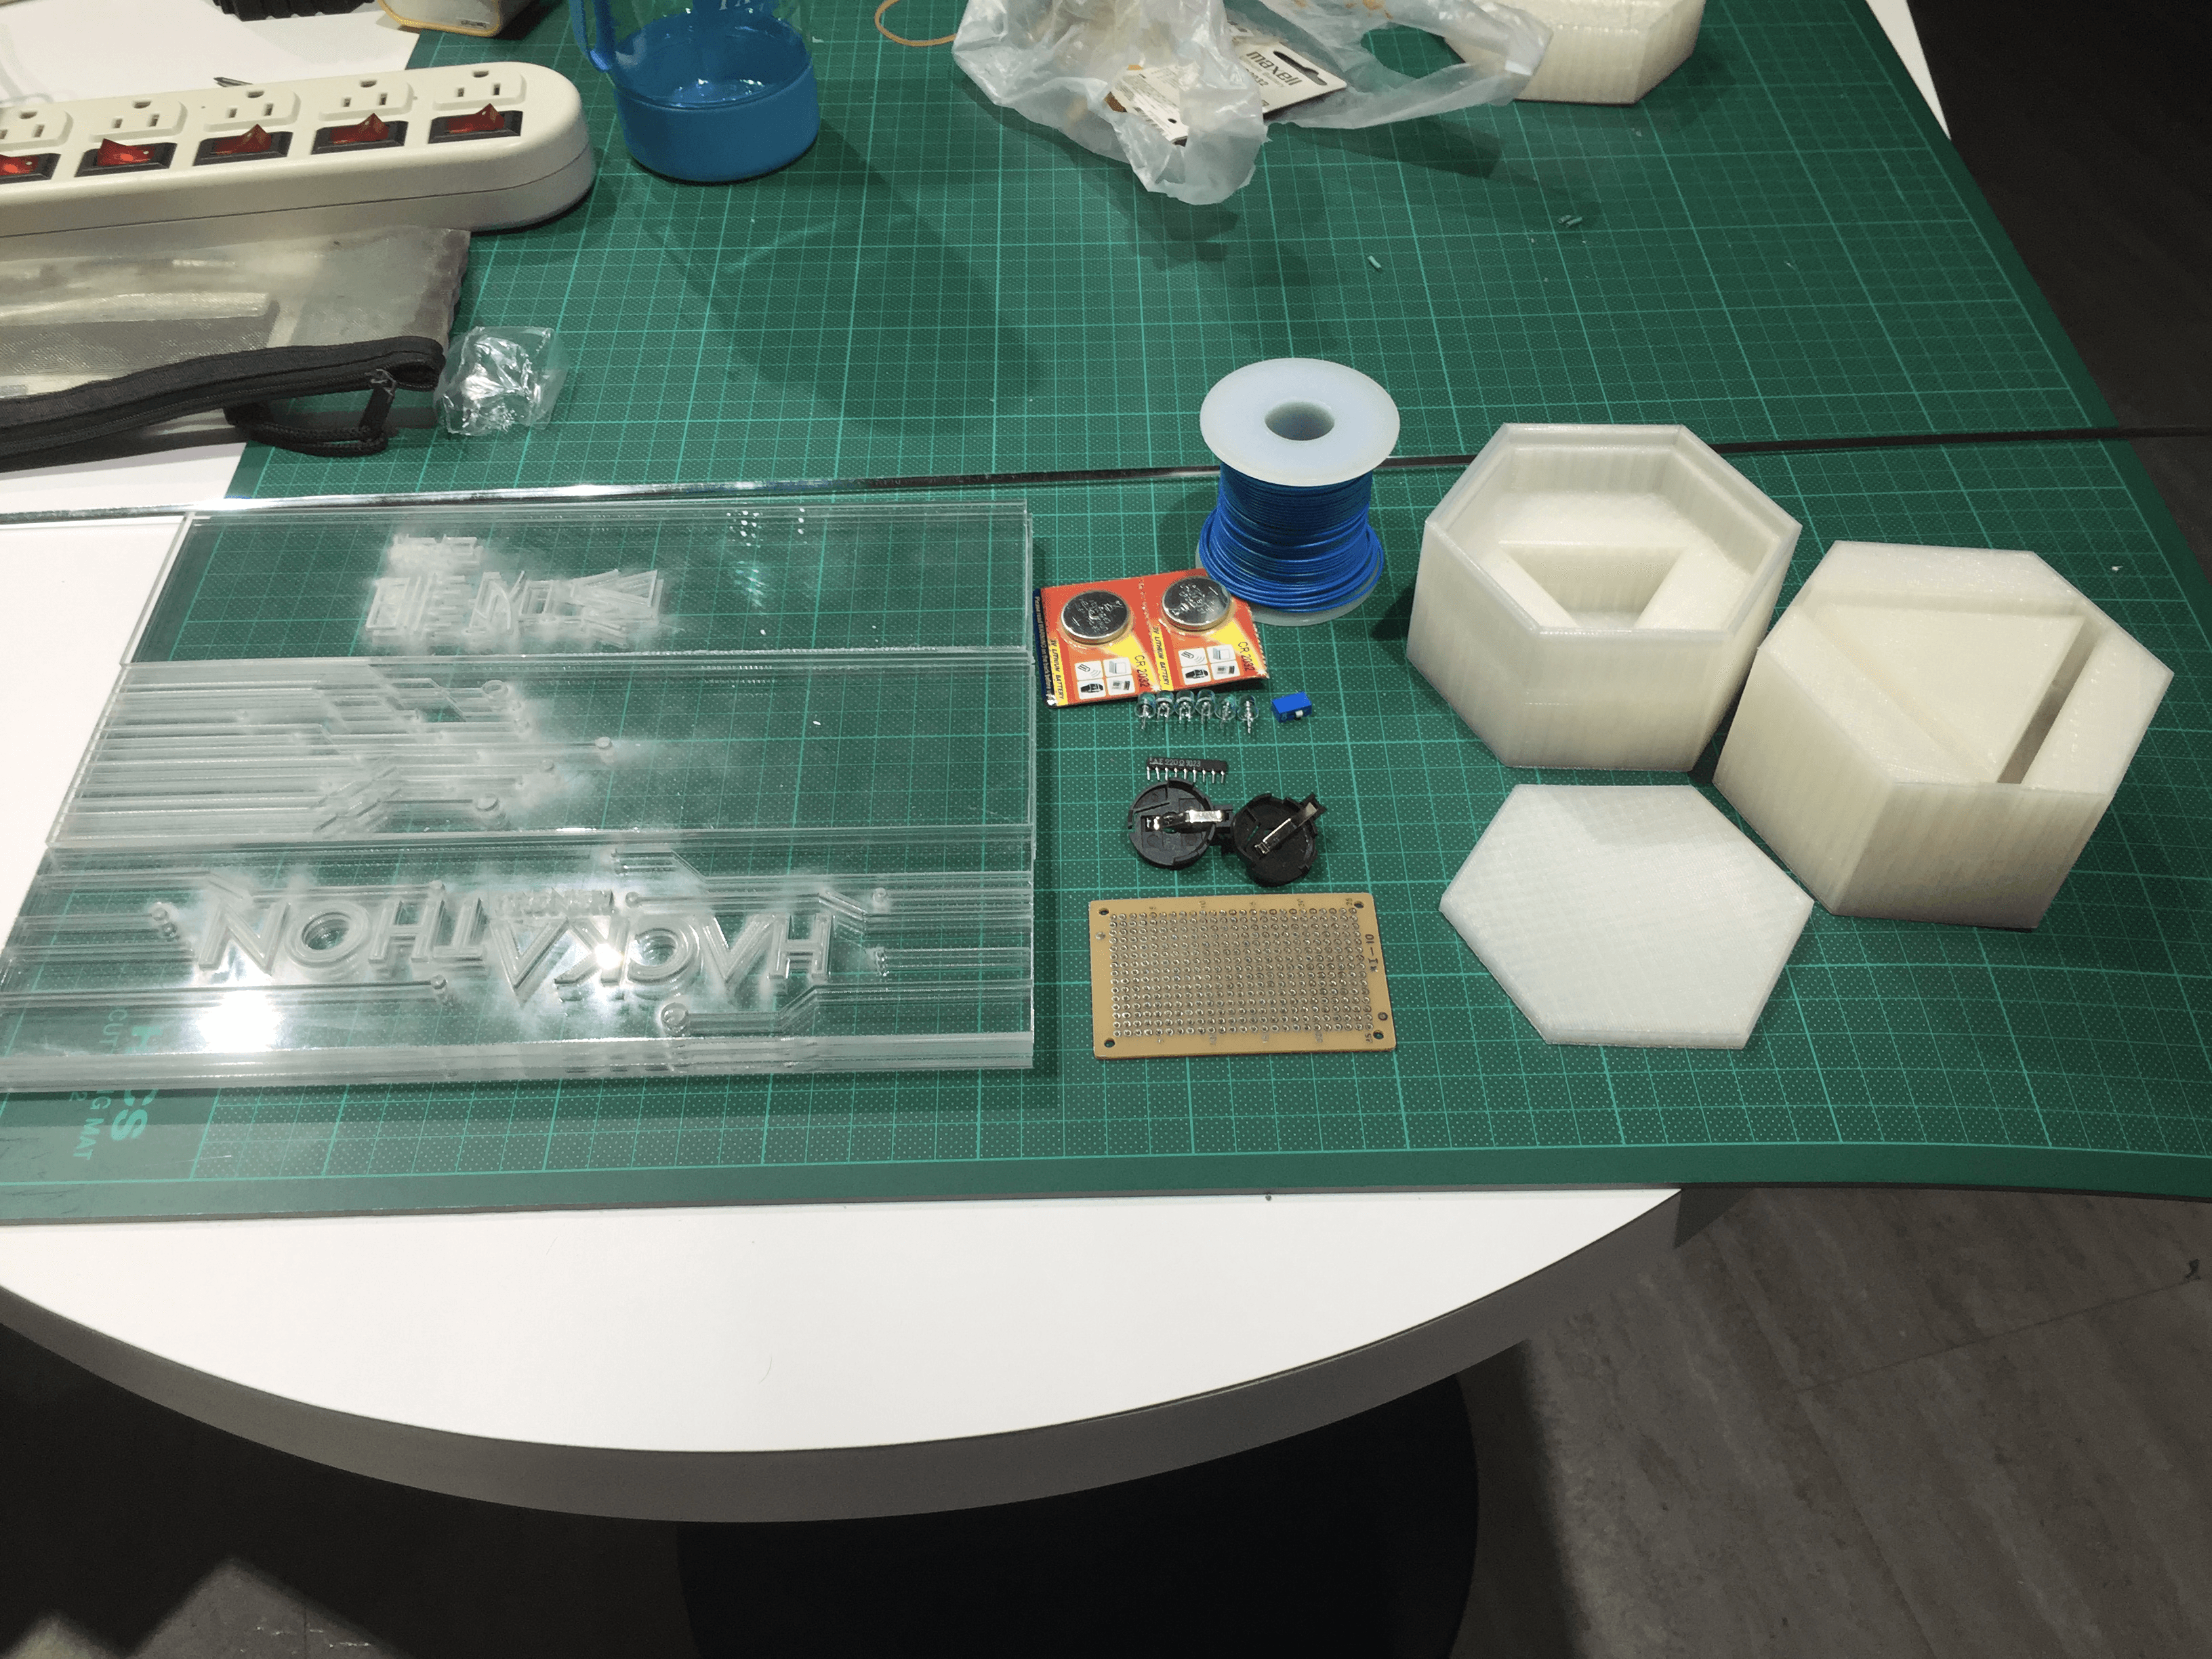
Materials List
Consumables
- Some 3D printing filaments (PLA)
- Transparent acrylic plate (5 x 300 x 300mm)
- Toggle switch x 1
- 5W blue LED lights x 6
- Button cell batteries x 2
- Button cell battery holders x 2
- Perforated board x 1
- Resistor x 1
- Soft triangular plastic strips 90cm (available at art supply stores)
- Some single-core wires
Tools
- Laser cutting machine (for cutting and engraving acrylic plates)
- 3D printer
- Soldering iron
Materials list (for one trophy):
Creation Process
Laser Cutting
We made 3 trophies in total, as the laser cutting machine had to be borrowed, so we did the laser cutting first:
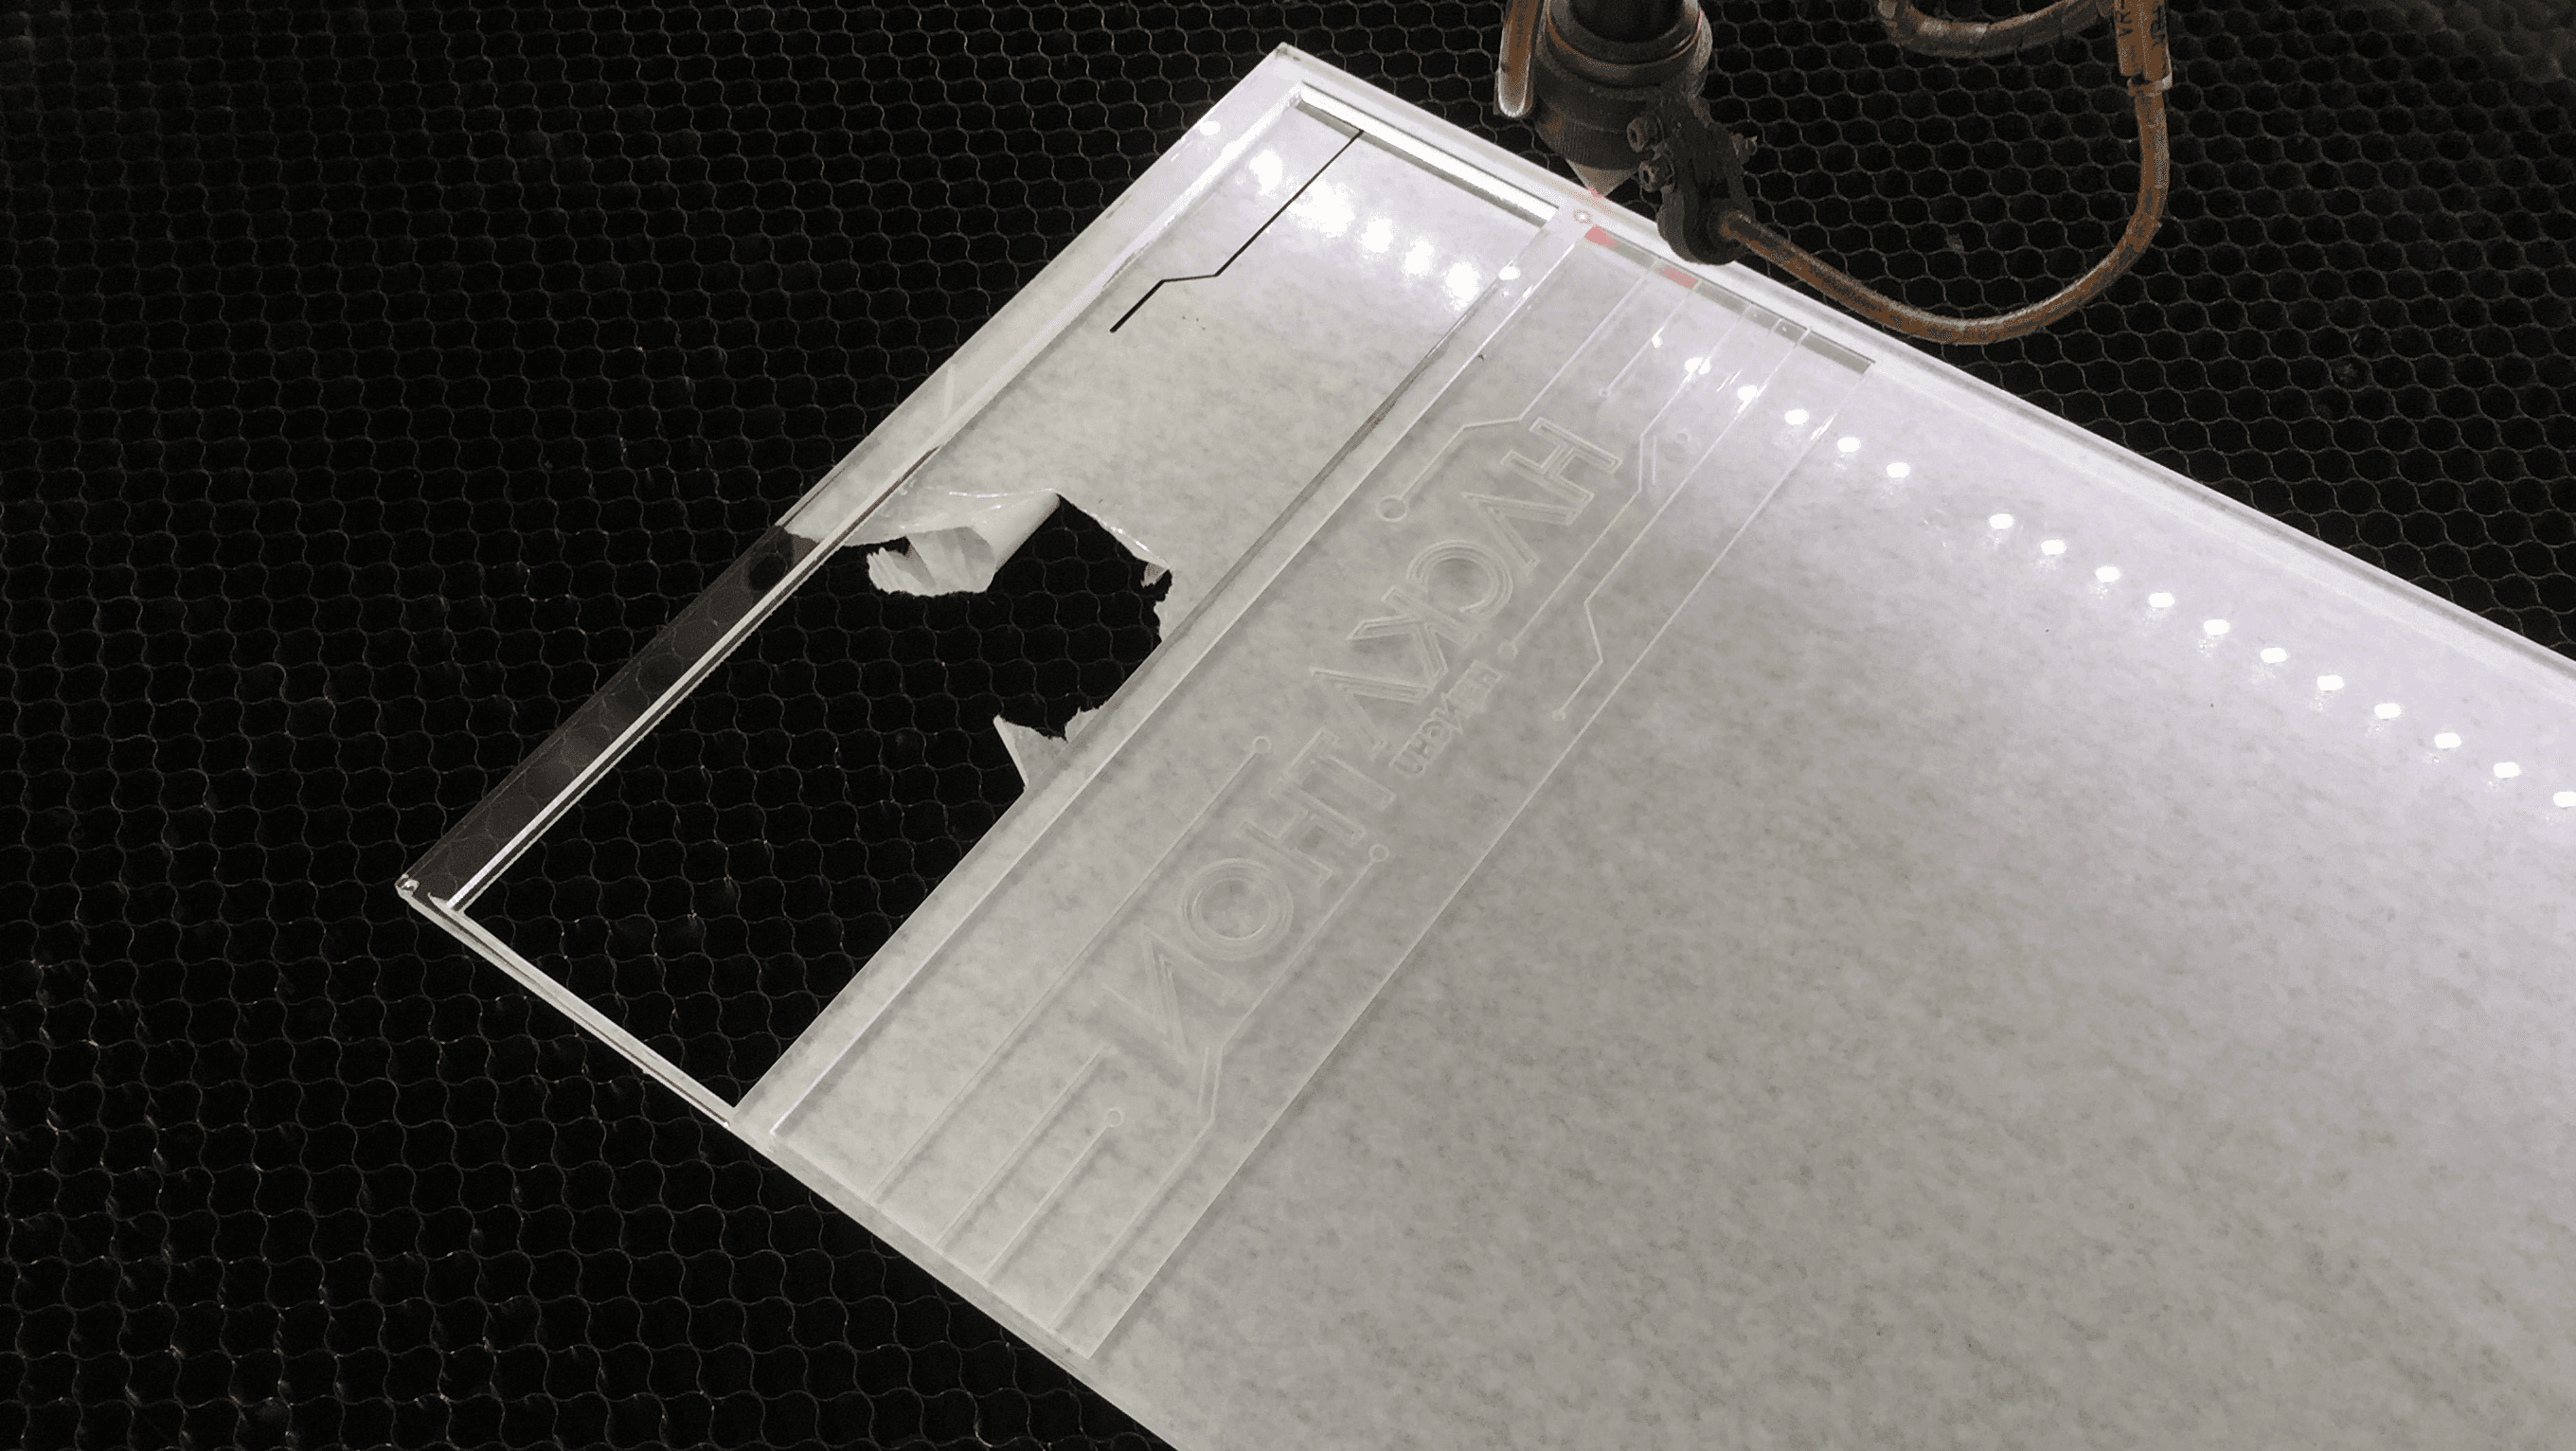
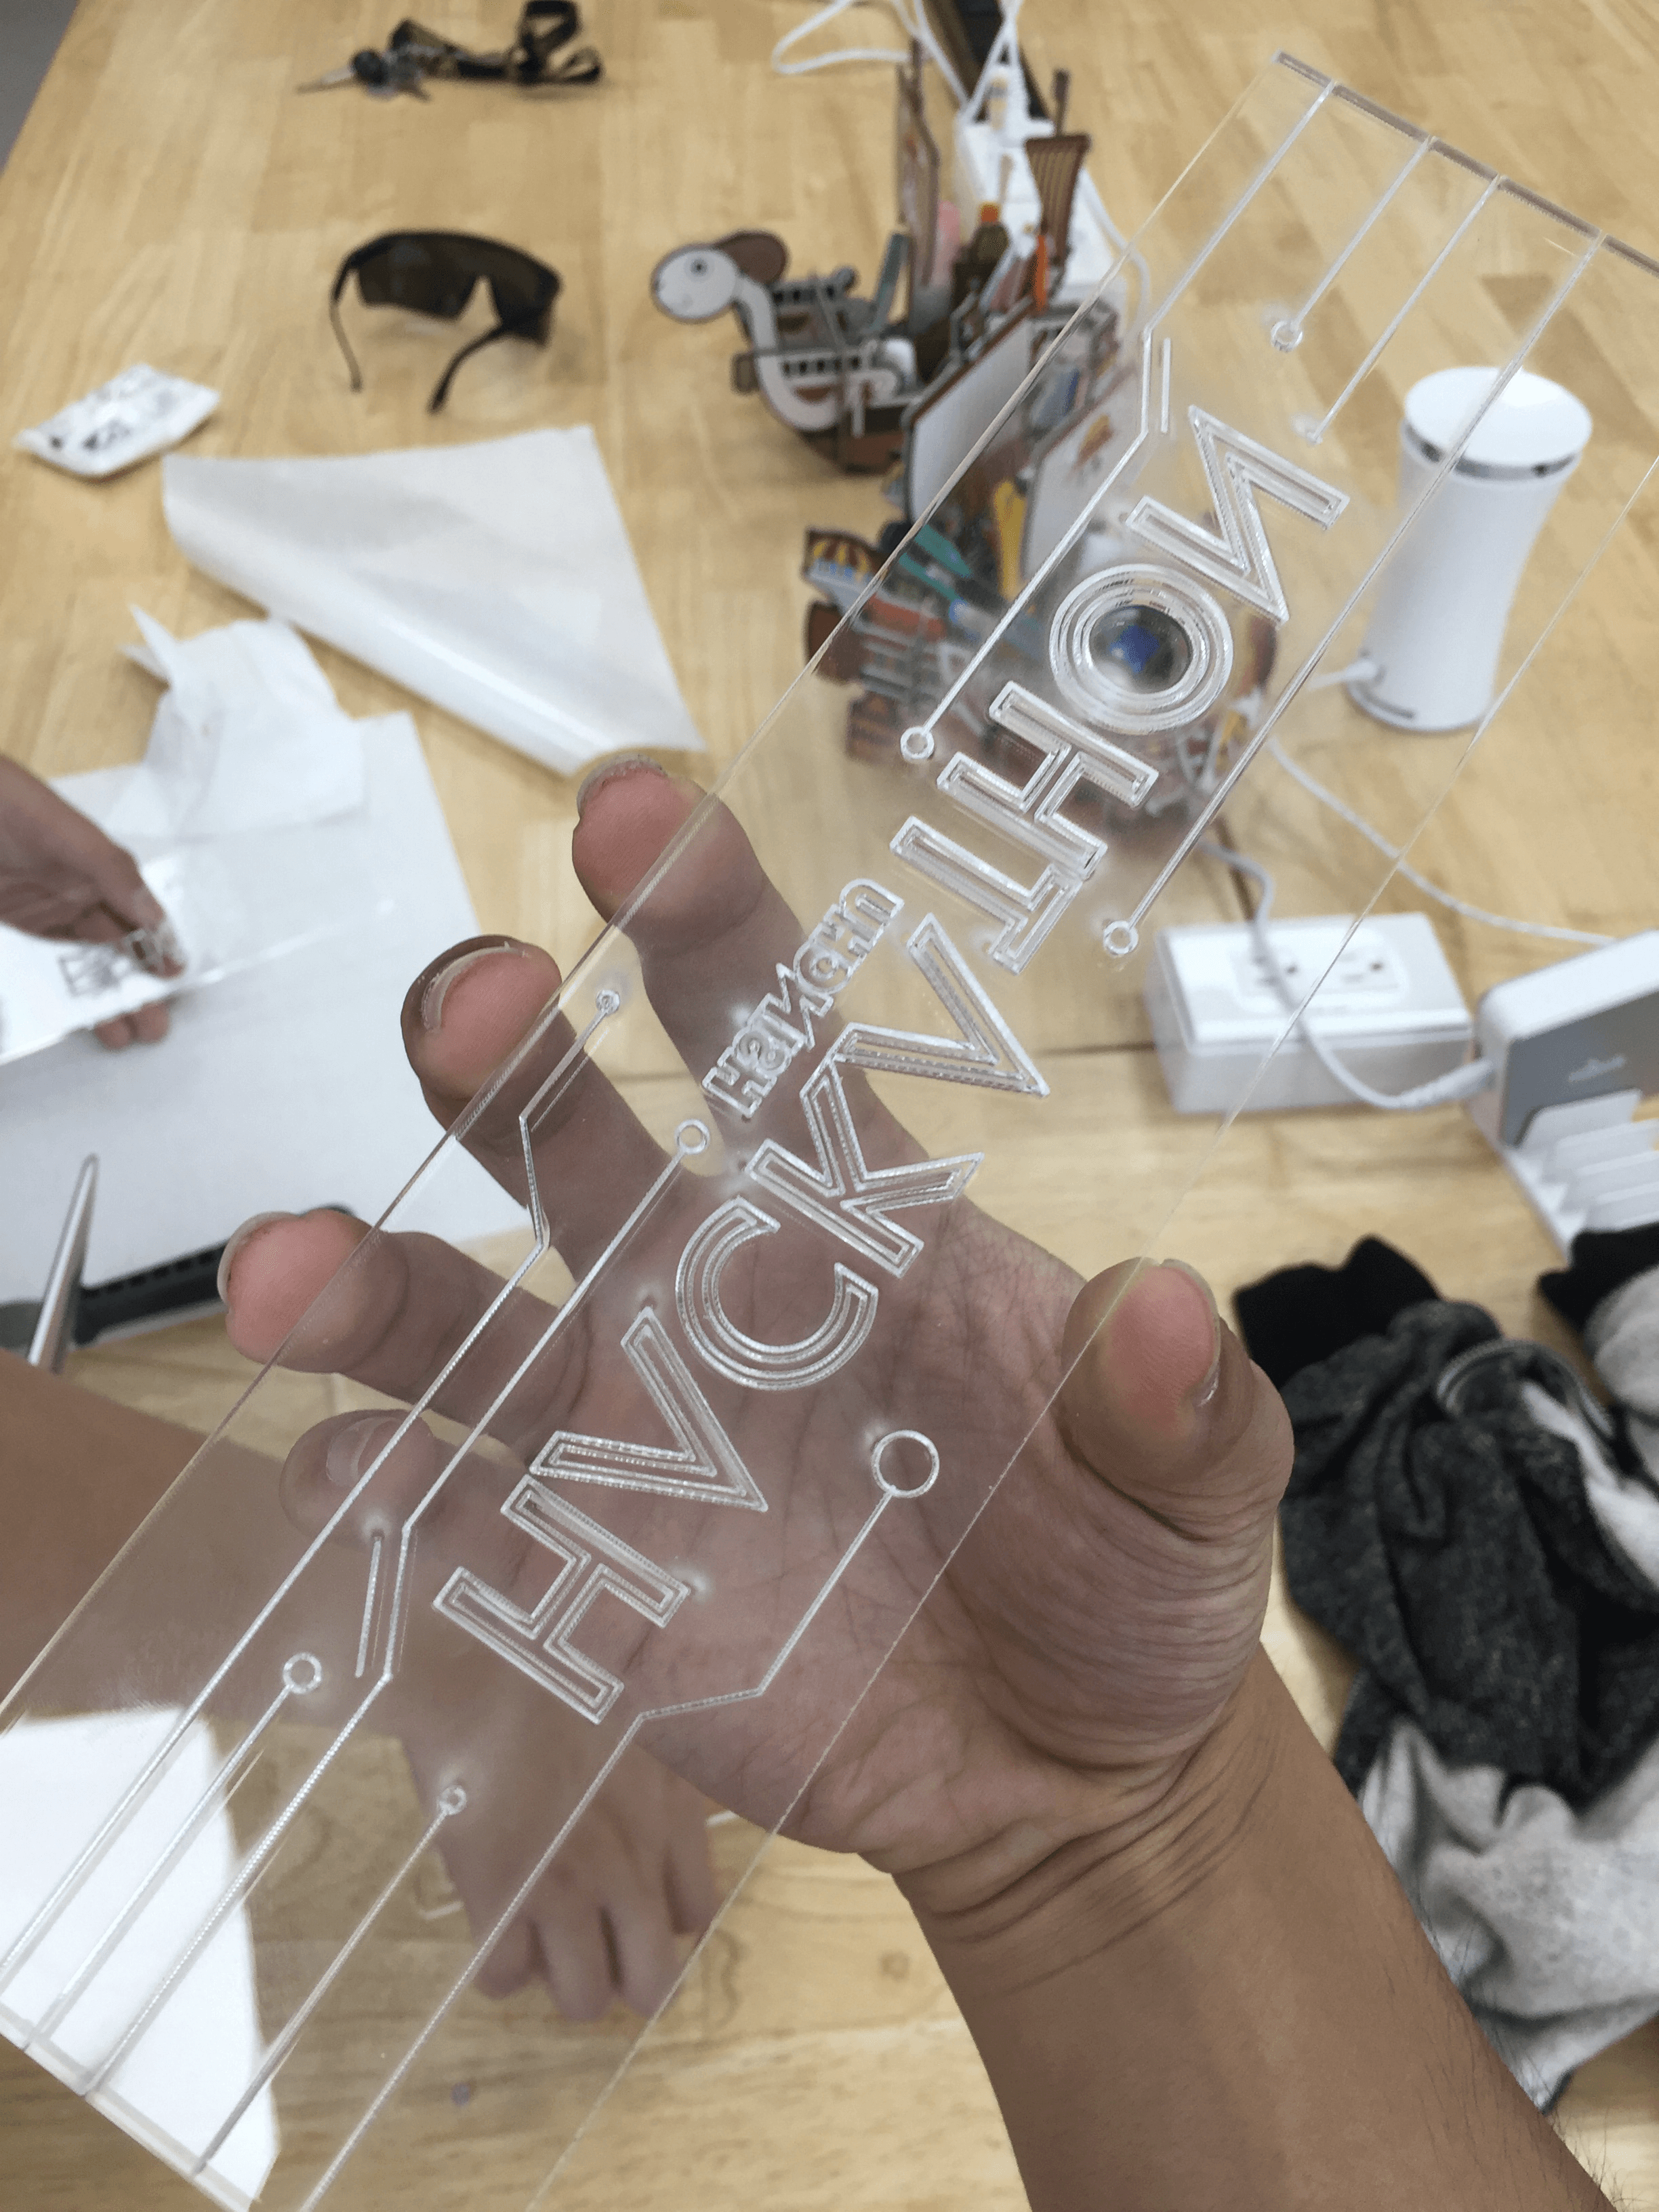
Result of the acrylic cutting:
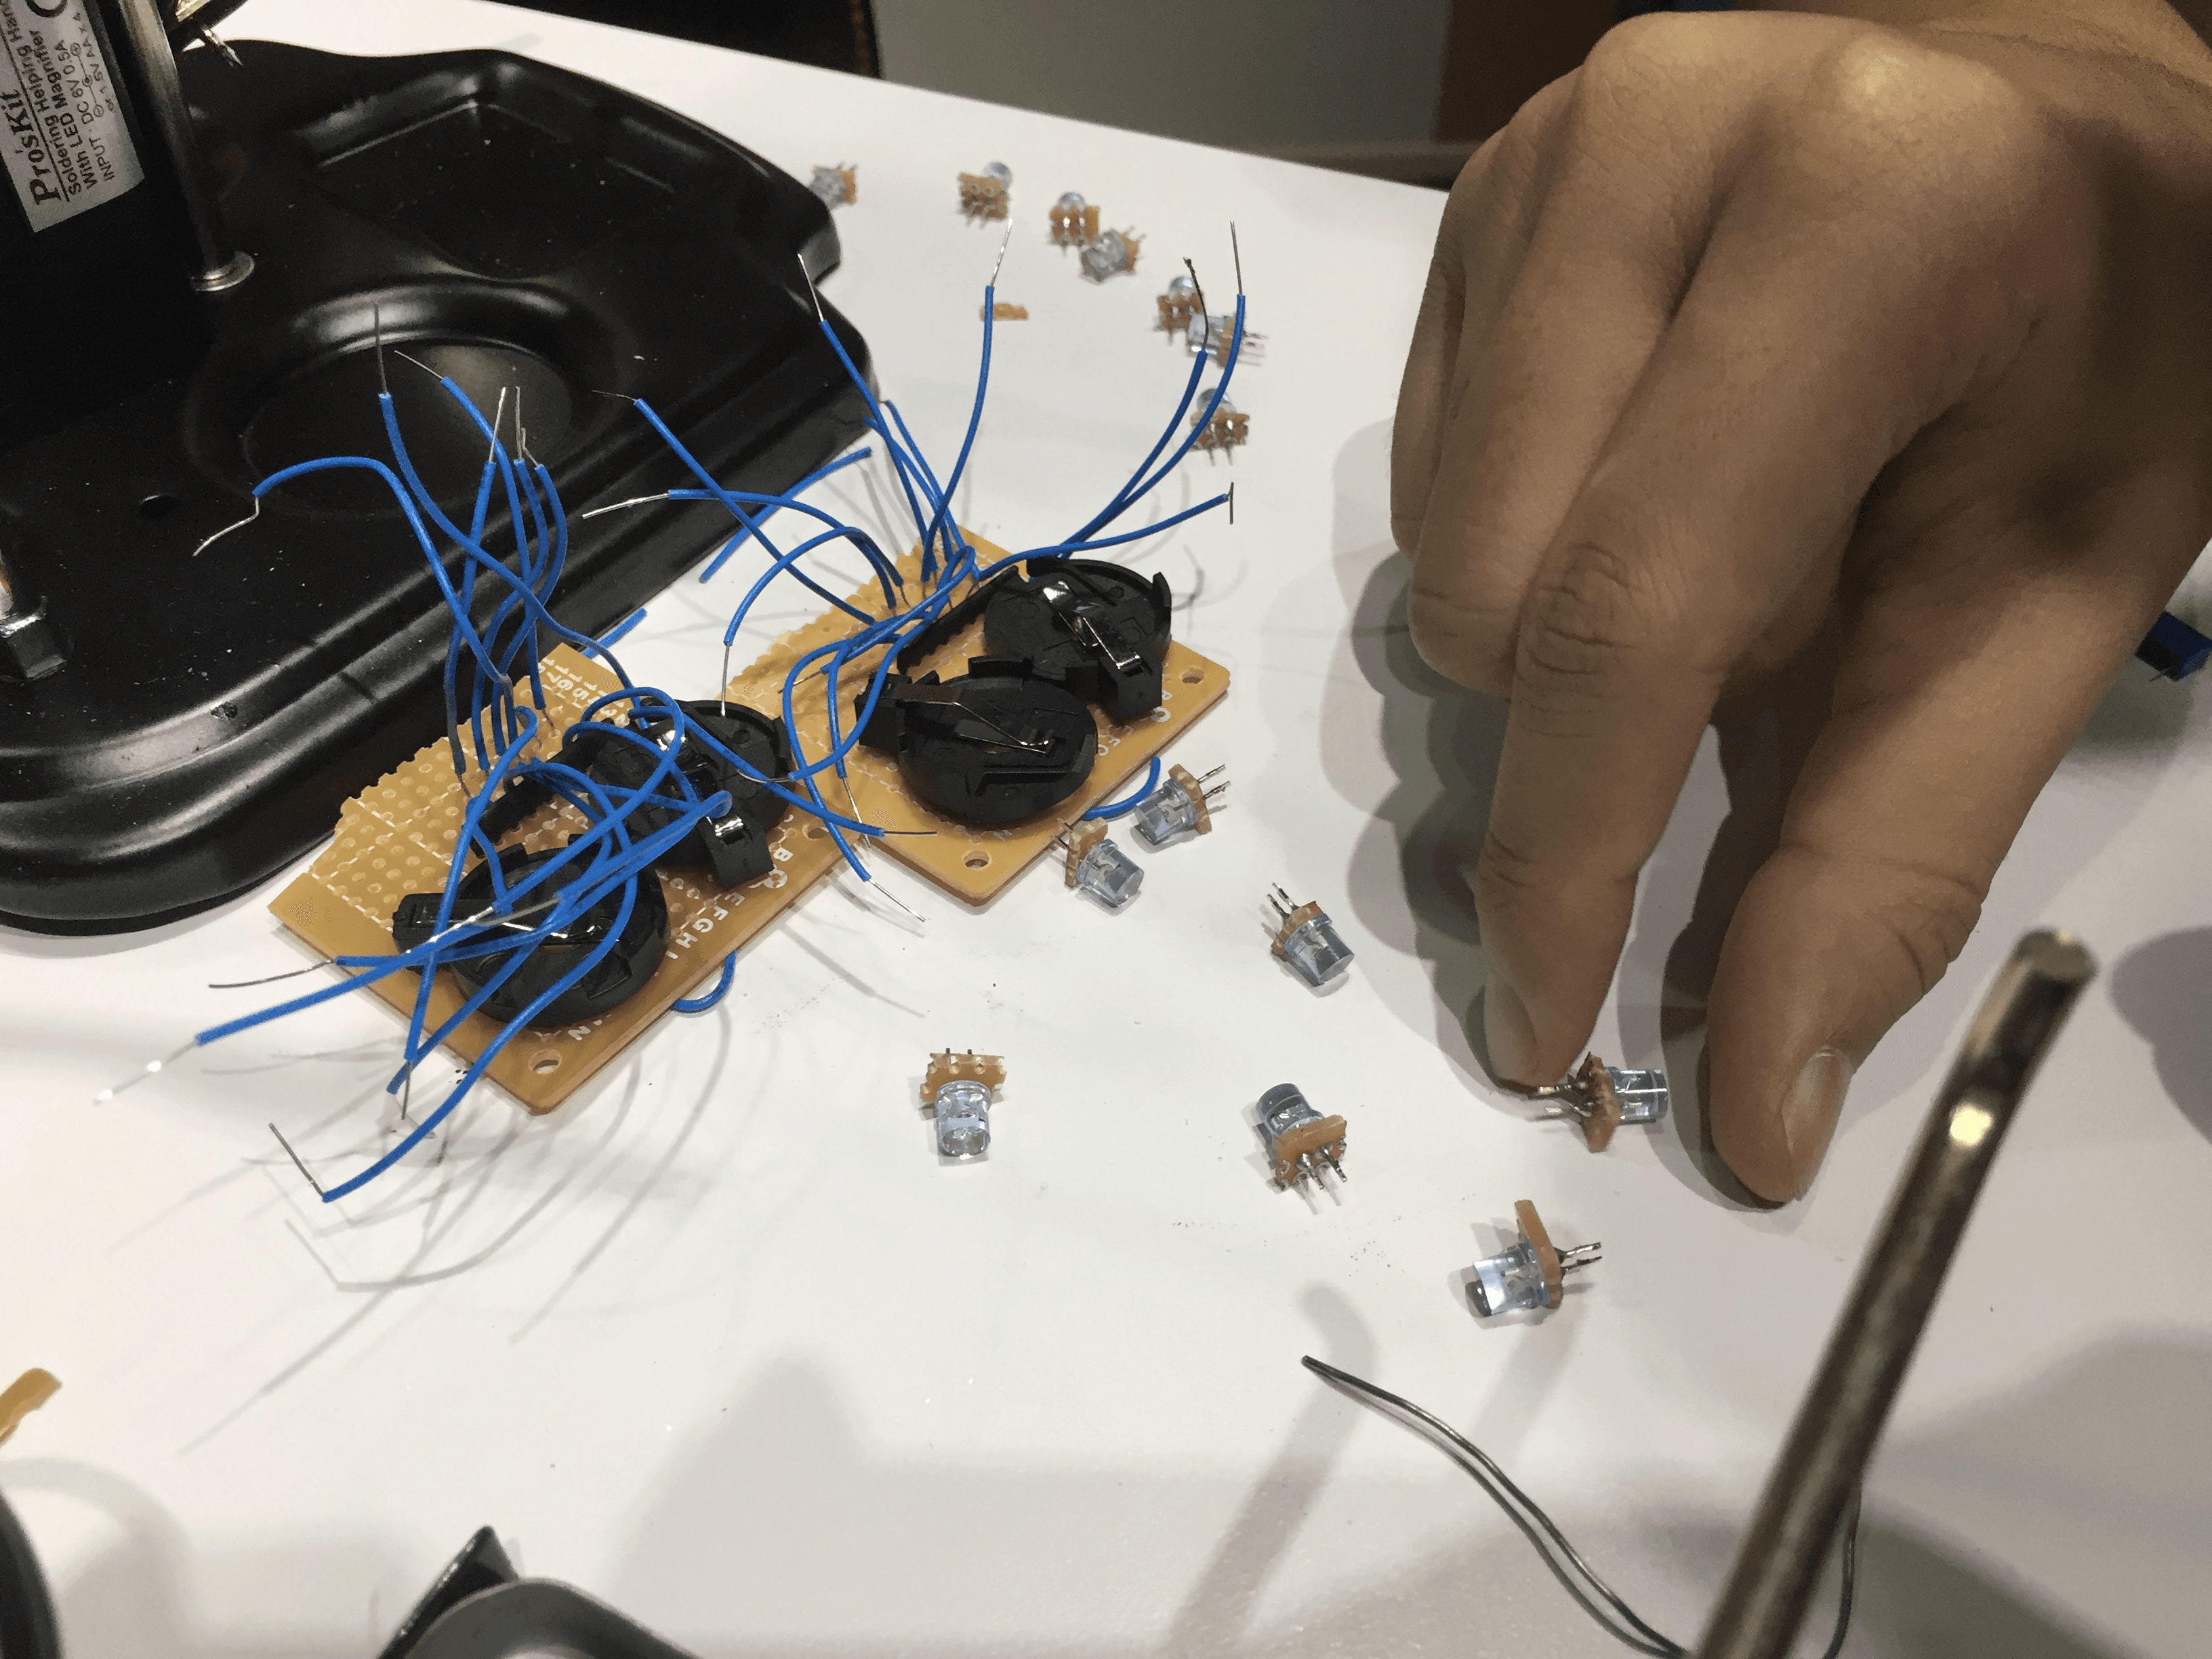
Circuit Soldering
Next was soldering the LED light circuit hidden in the upper base:
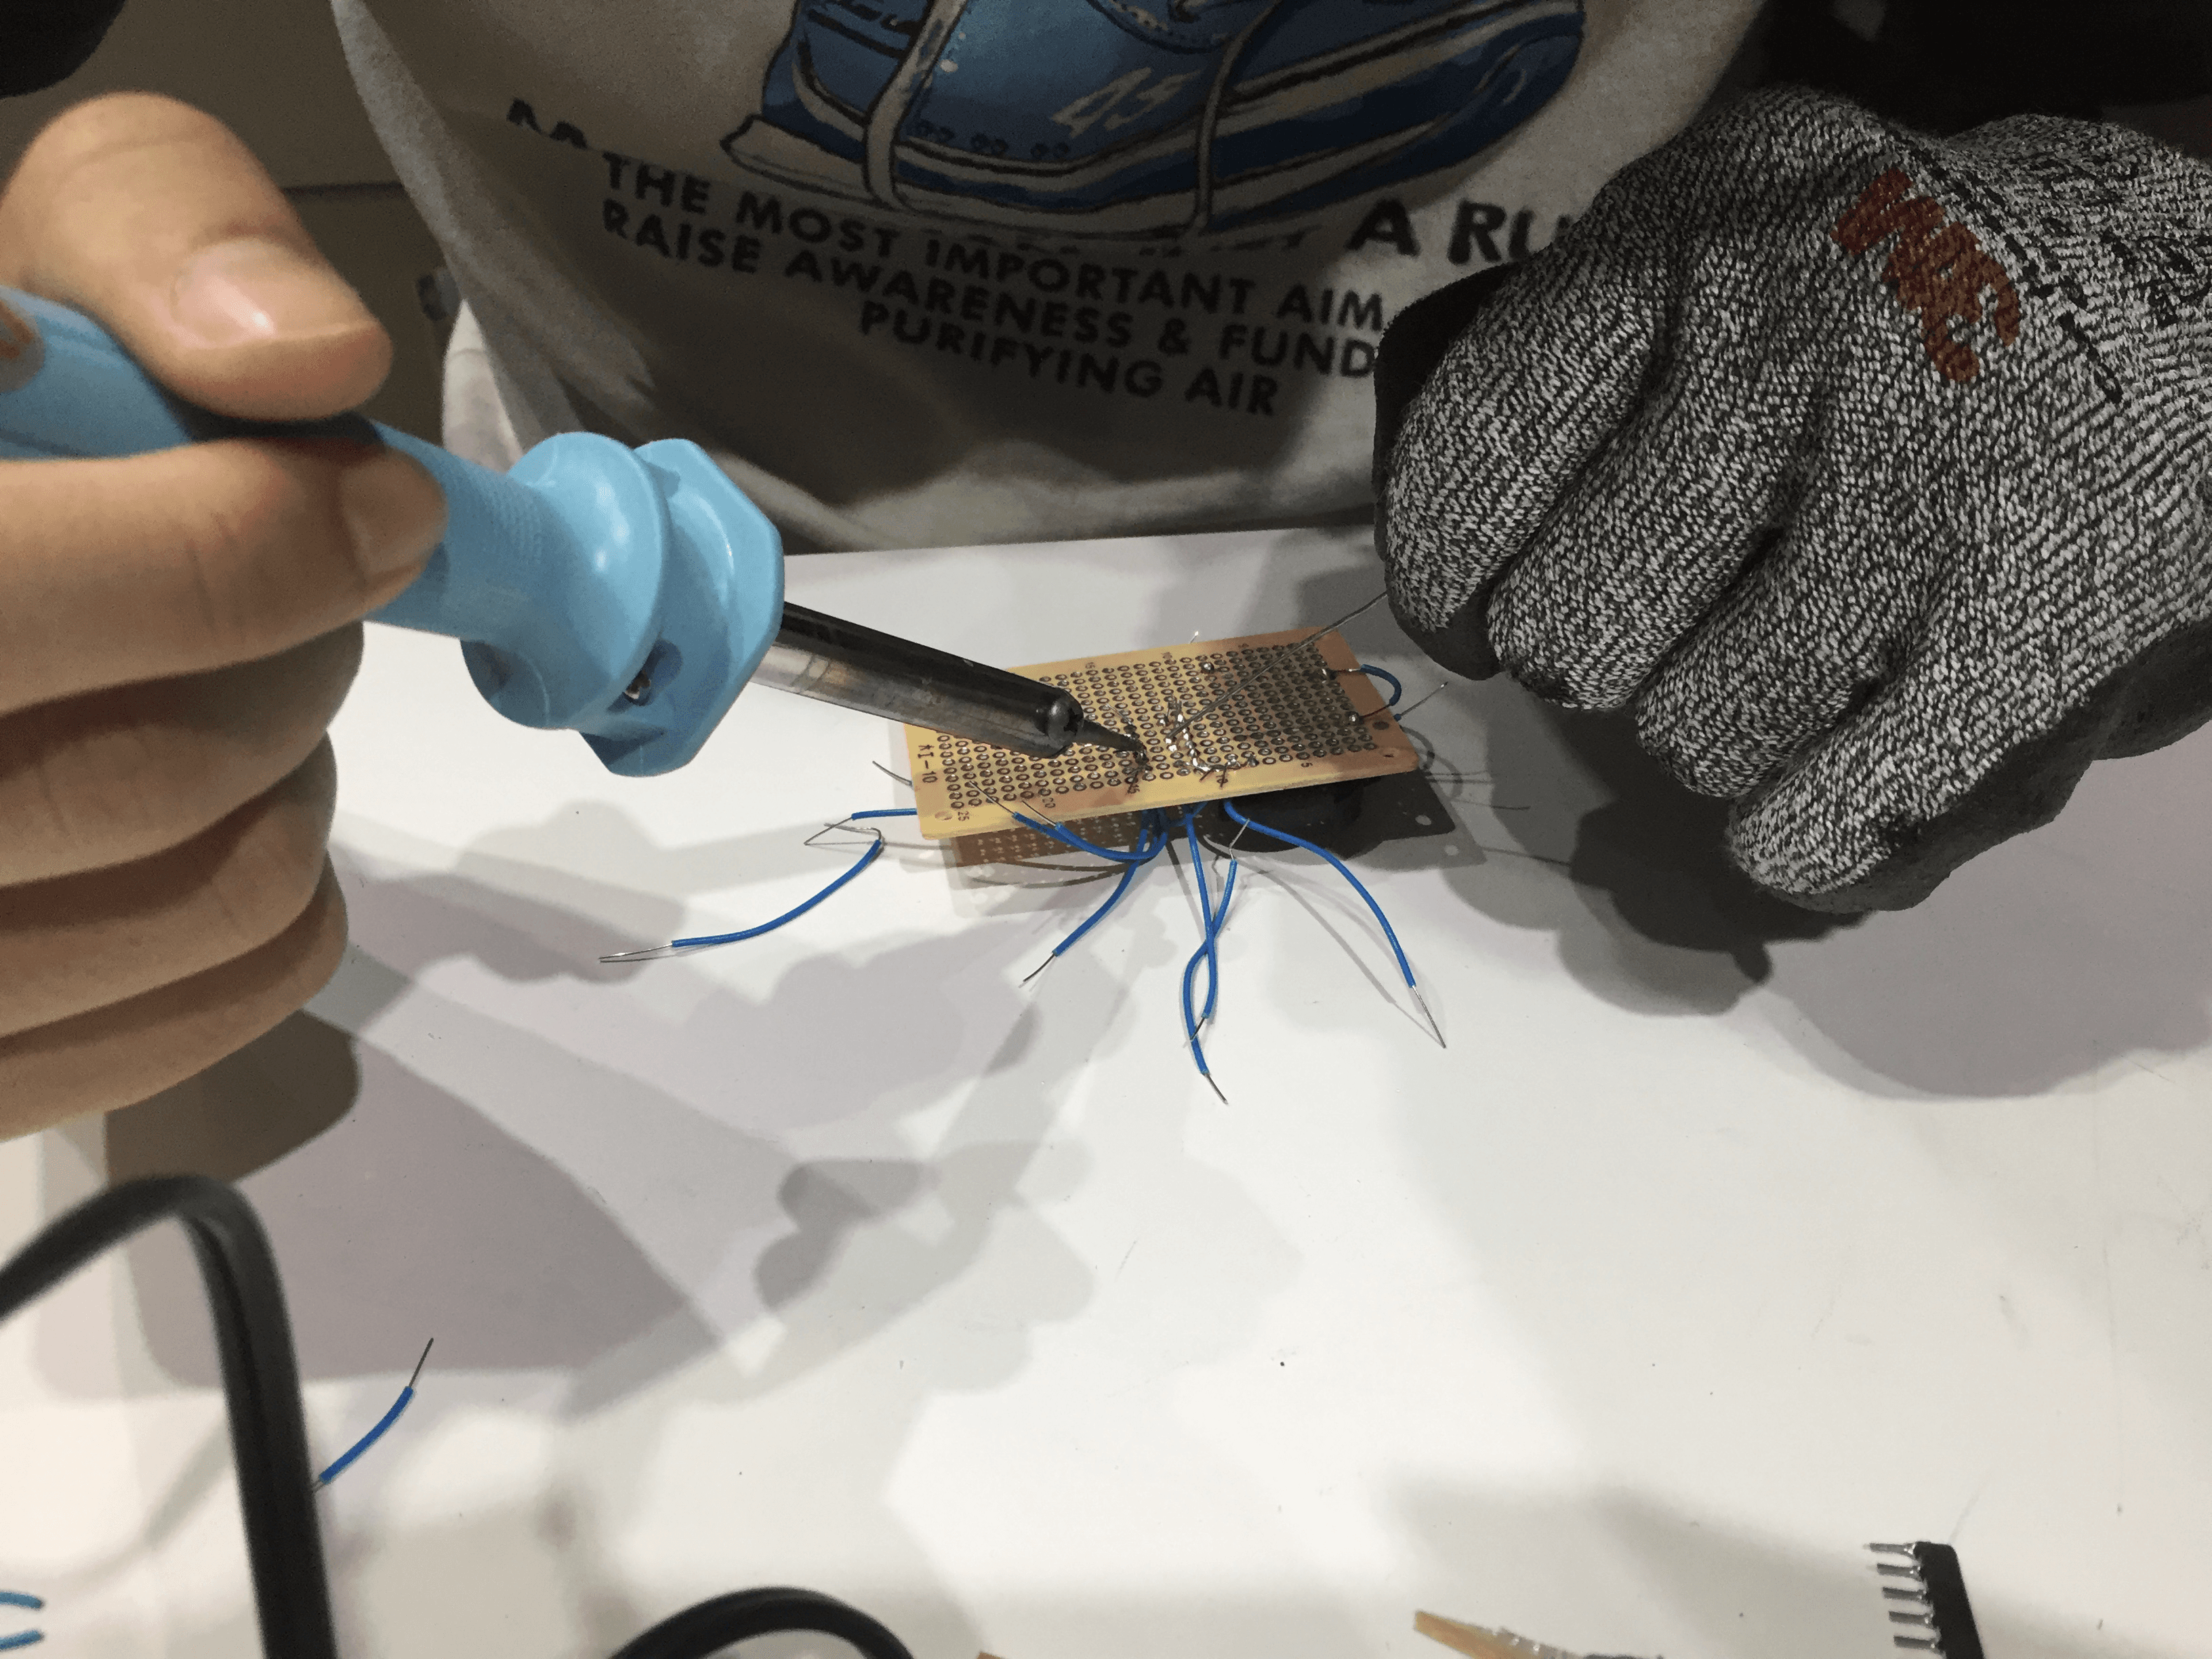
For ease of fixing, the LED lights were first soldered together with a small perforated board:
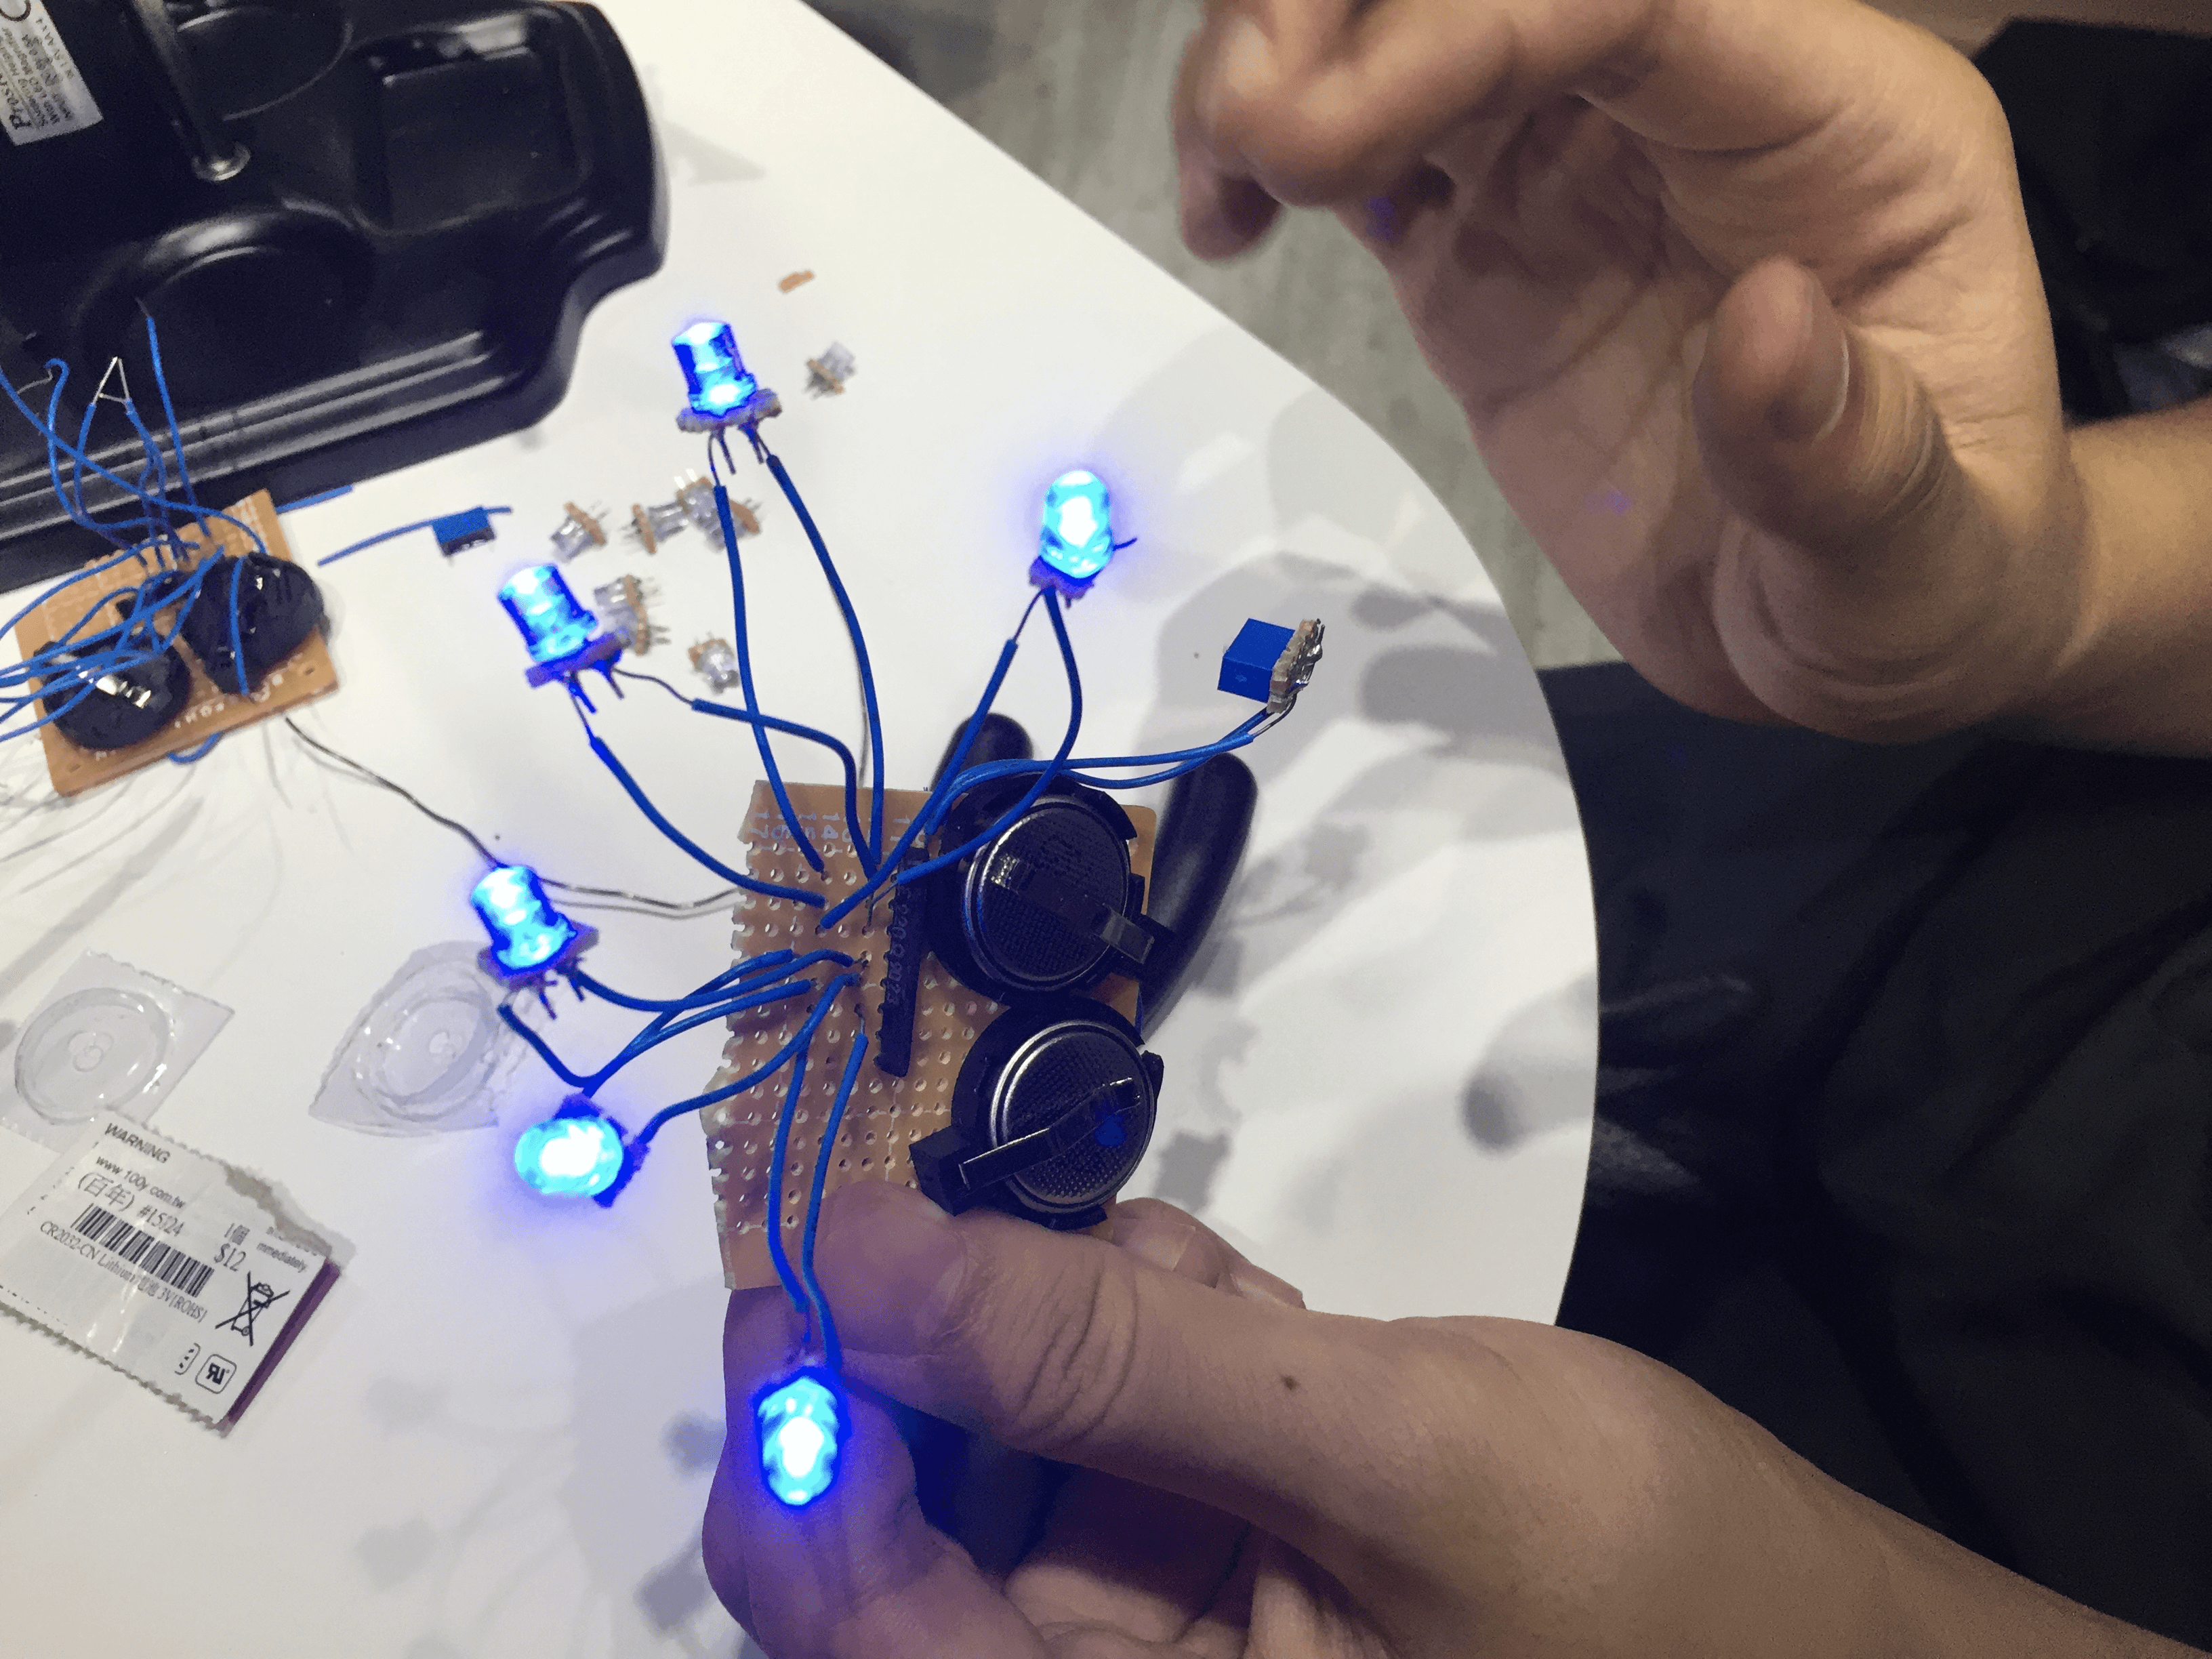
Result of the circuit, the LED lights can be controlled on and off by the toggle switch:
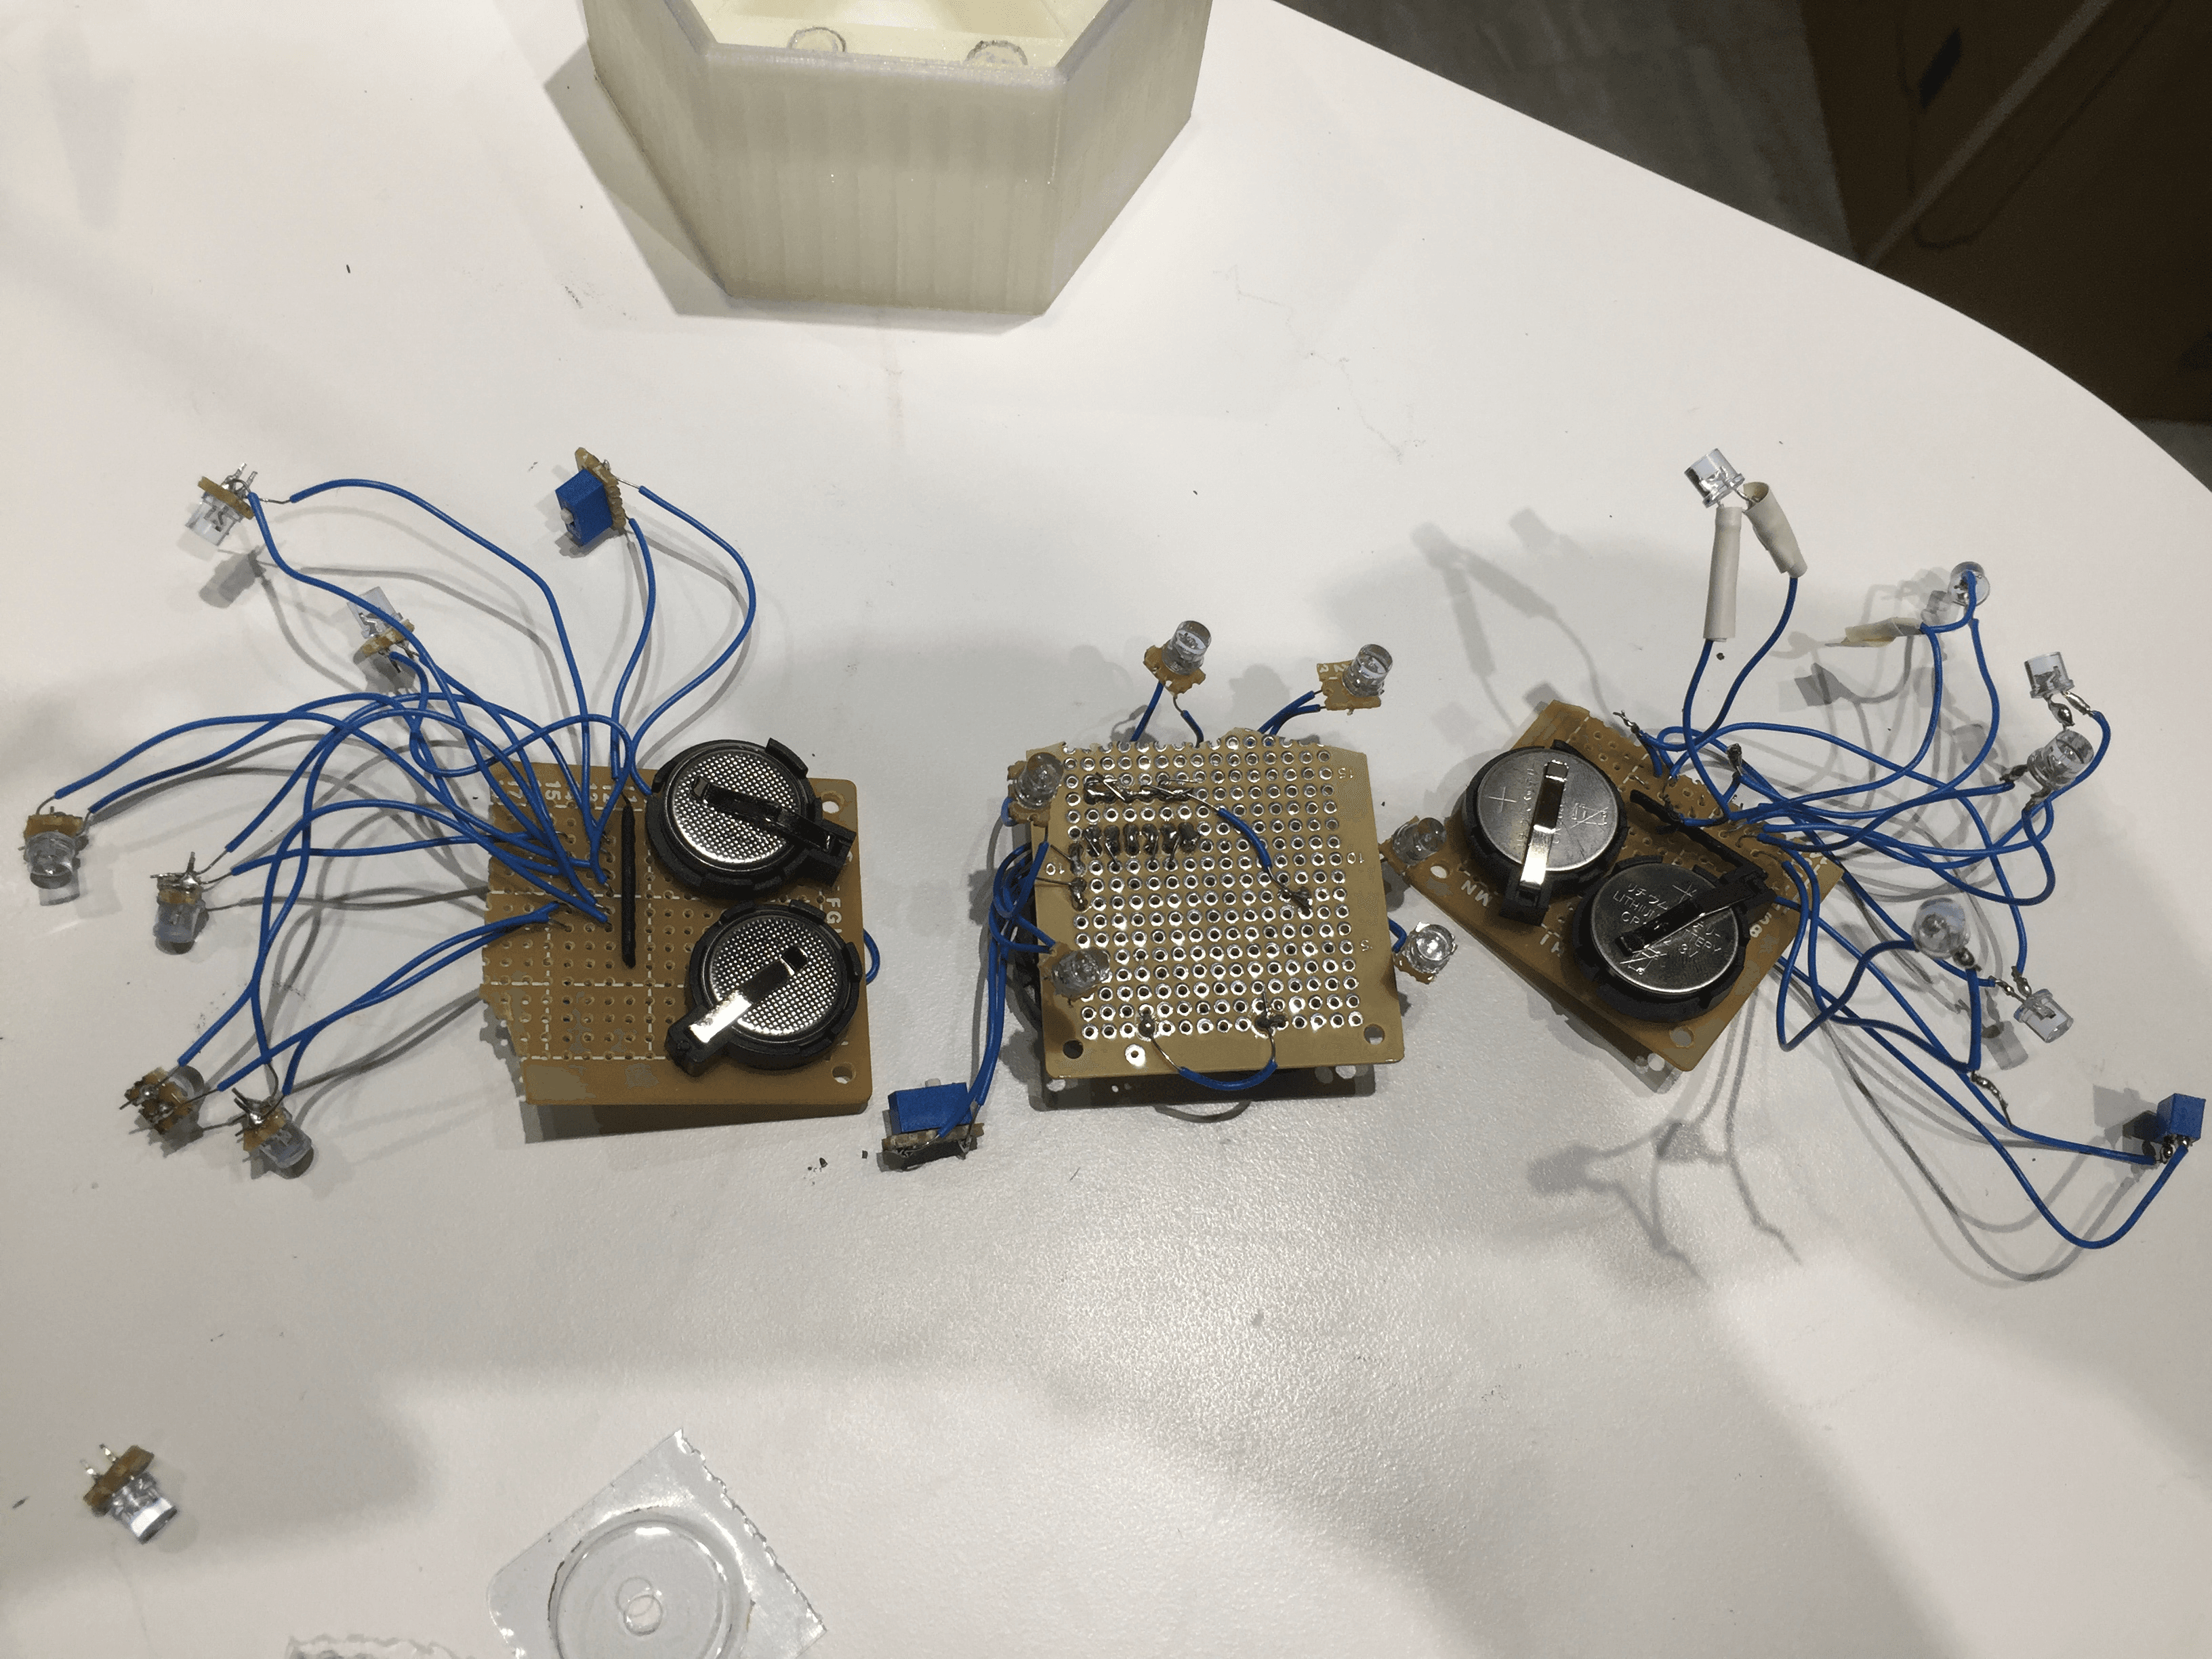
In total, 3 circuits were soldered:
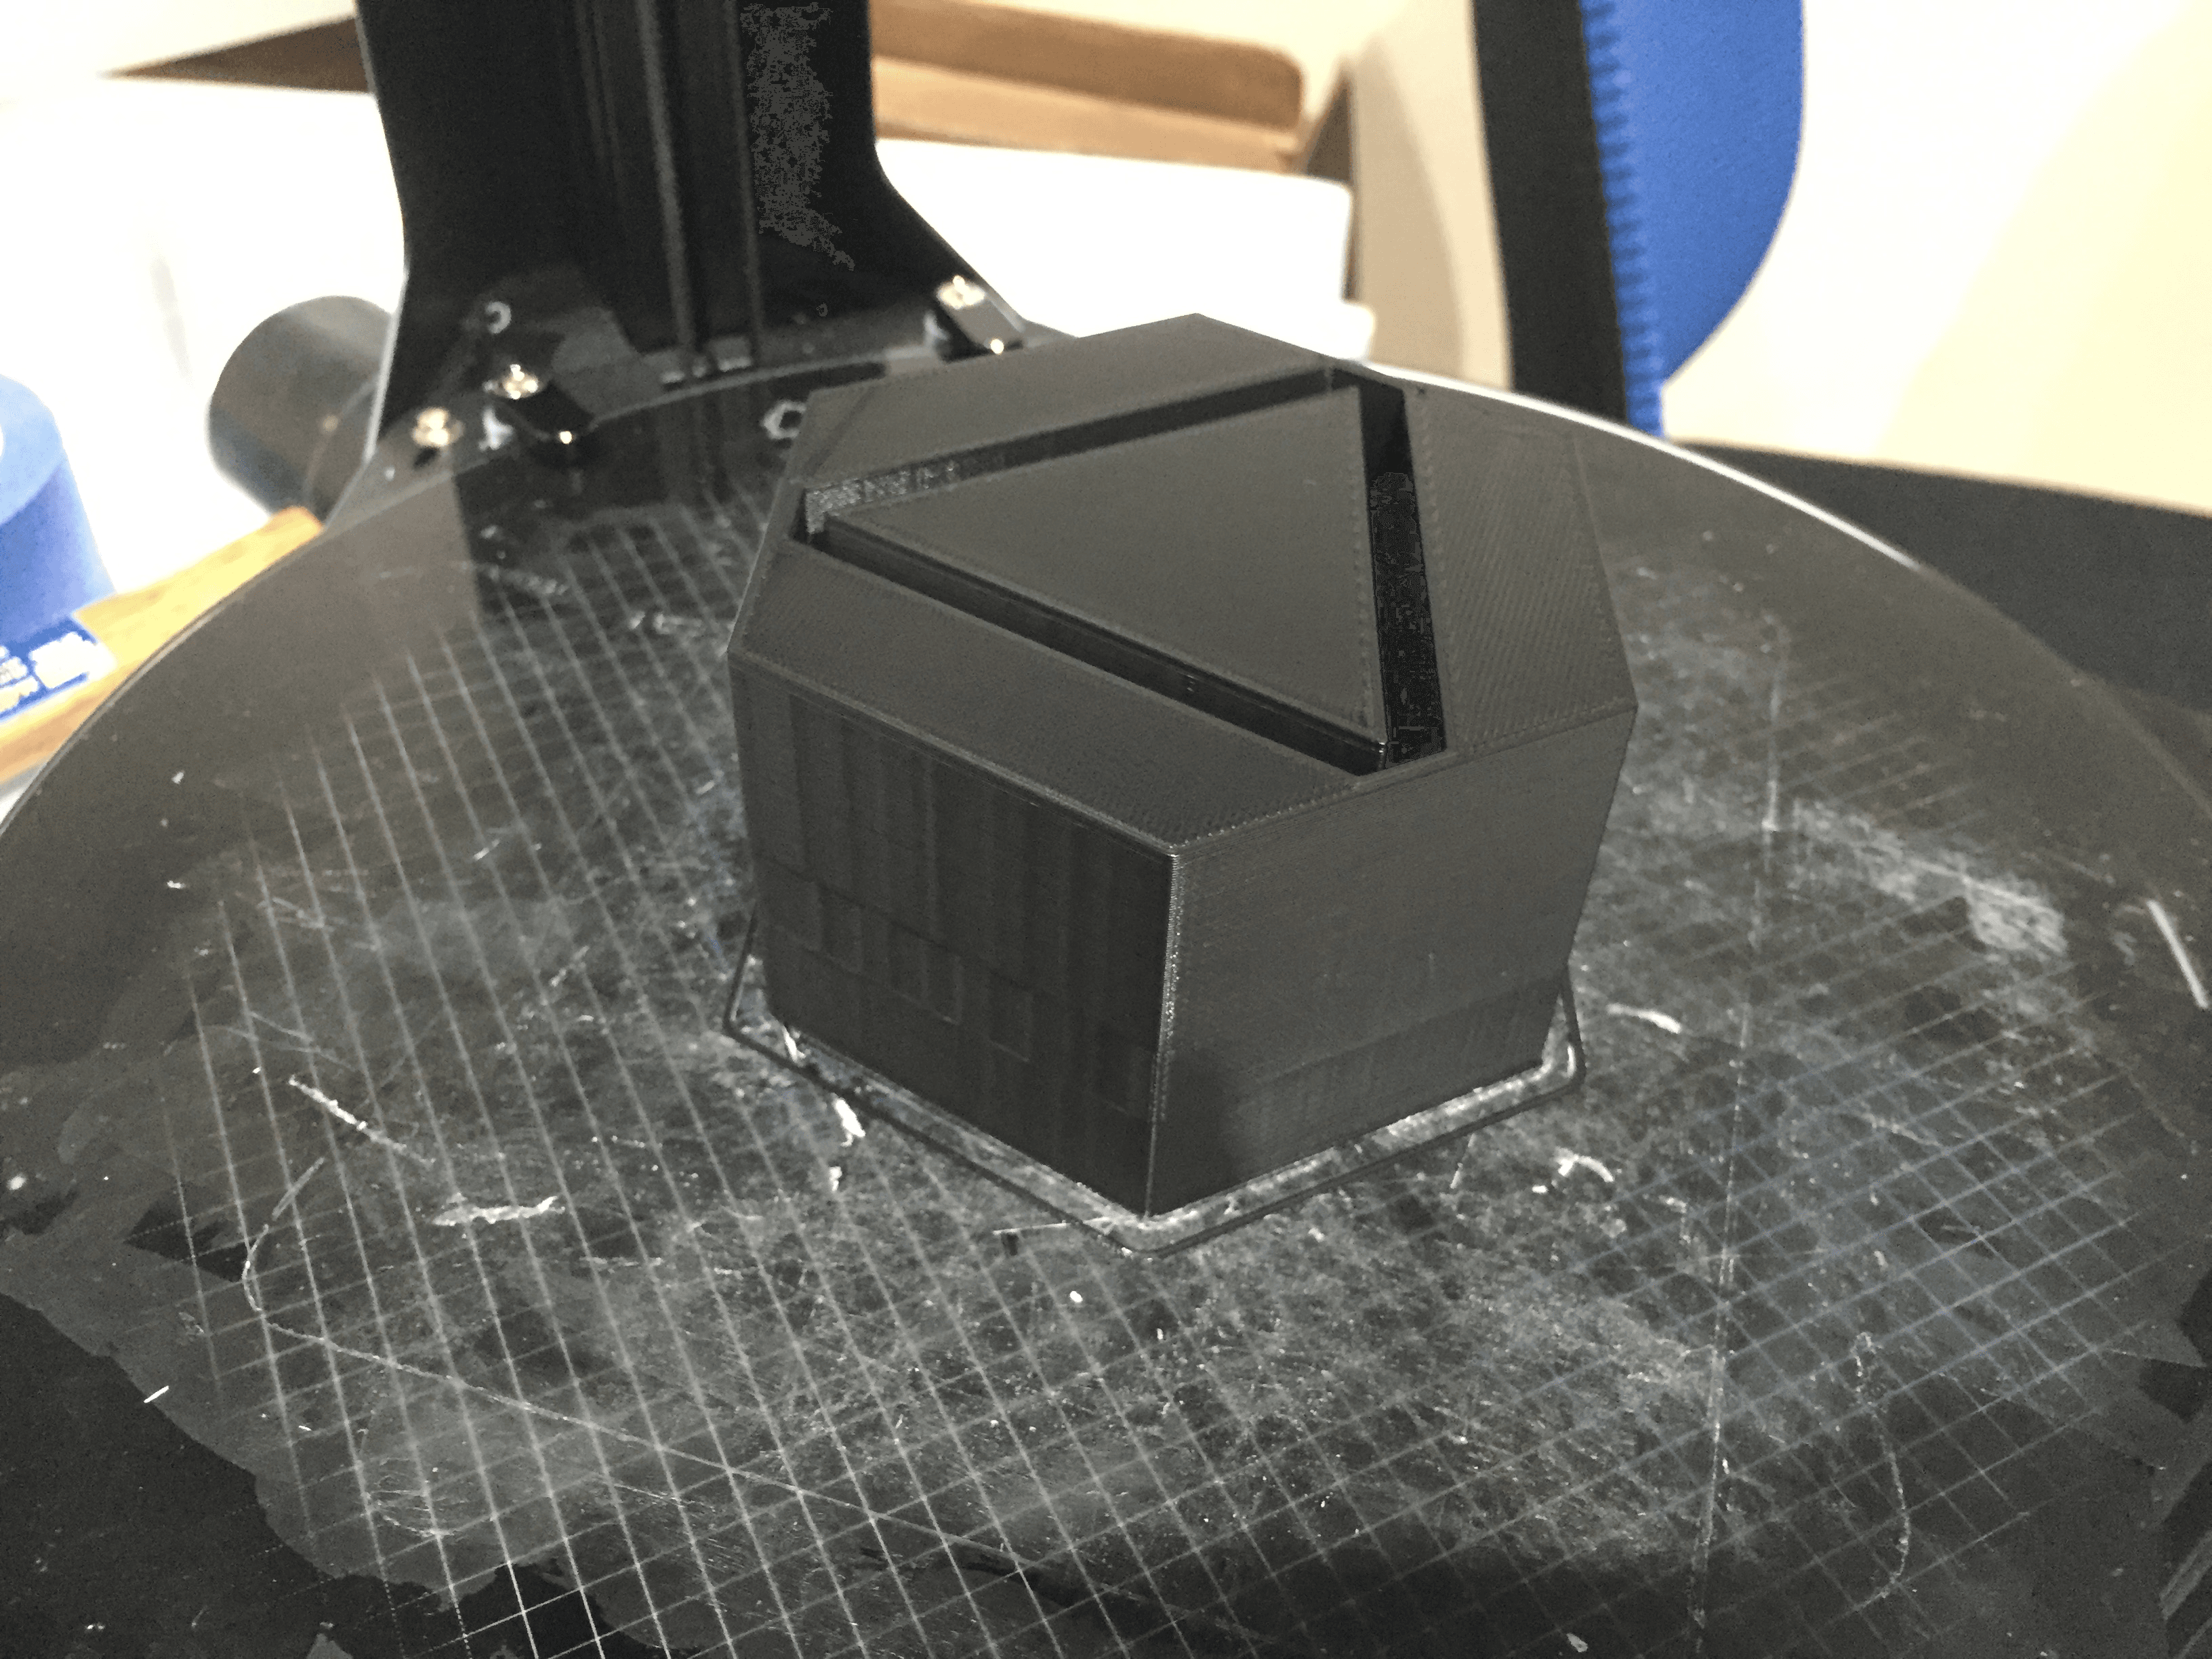
3D Printing
The trophy consists of 3 printed parts: base, upper base, and upper base lid
STL files and Google SketchUP 3D model files can be found here: Sci-Fi Style Trophy - Google Drive
The 3D printer we used is the ATOM 2.5EX:
Assembly
Finally, assembling everything together!
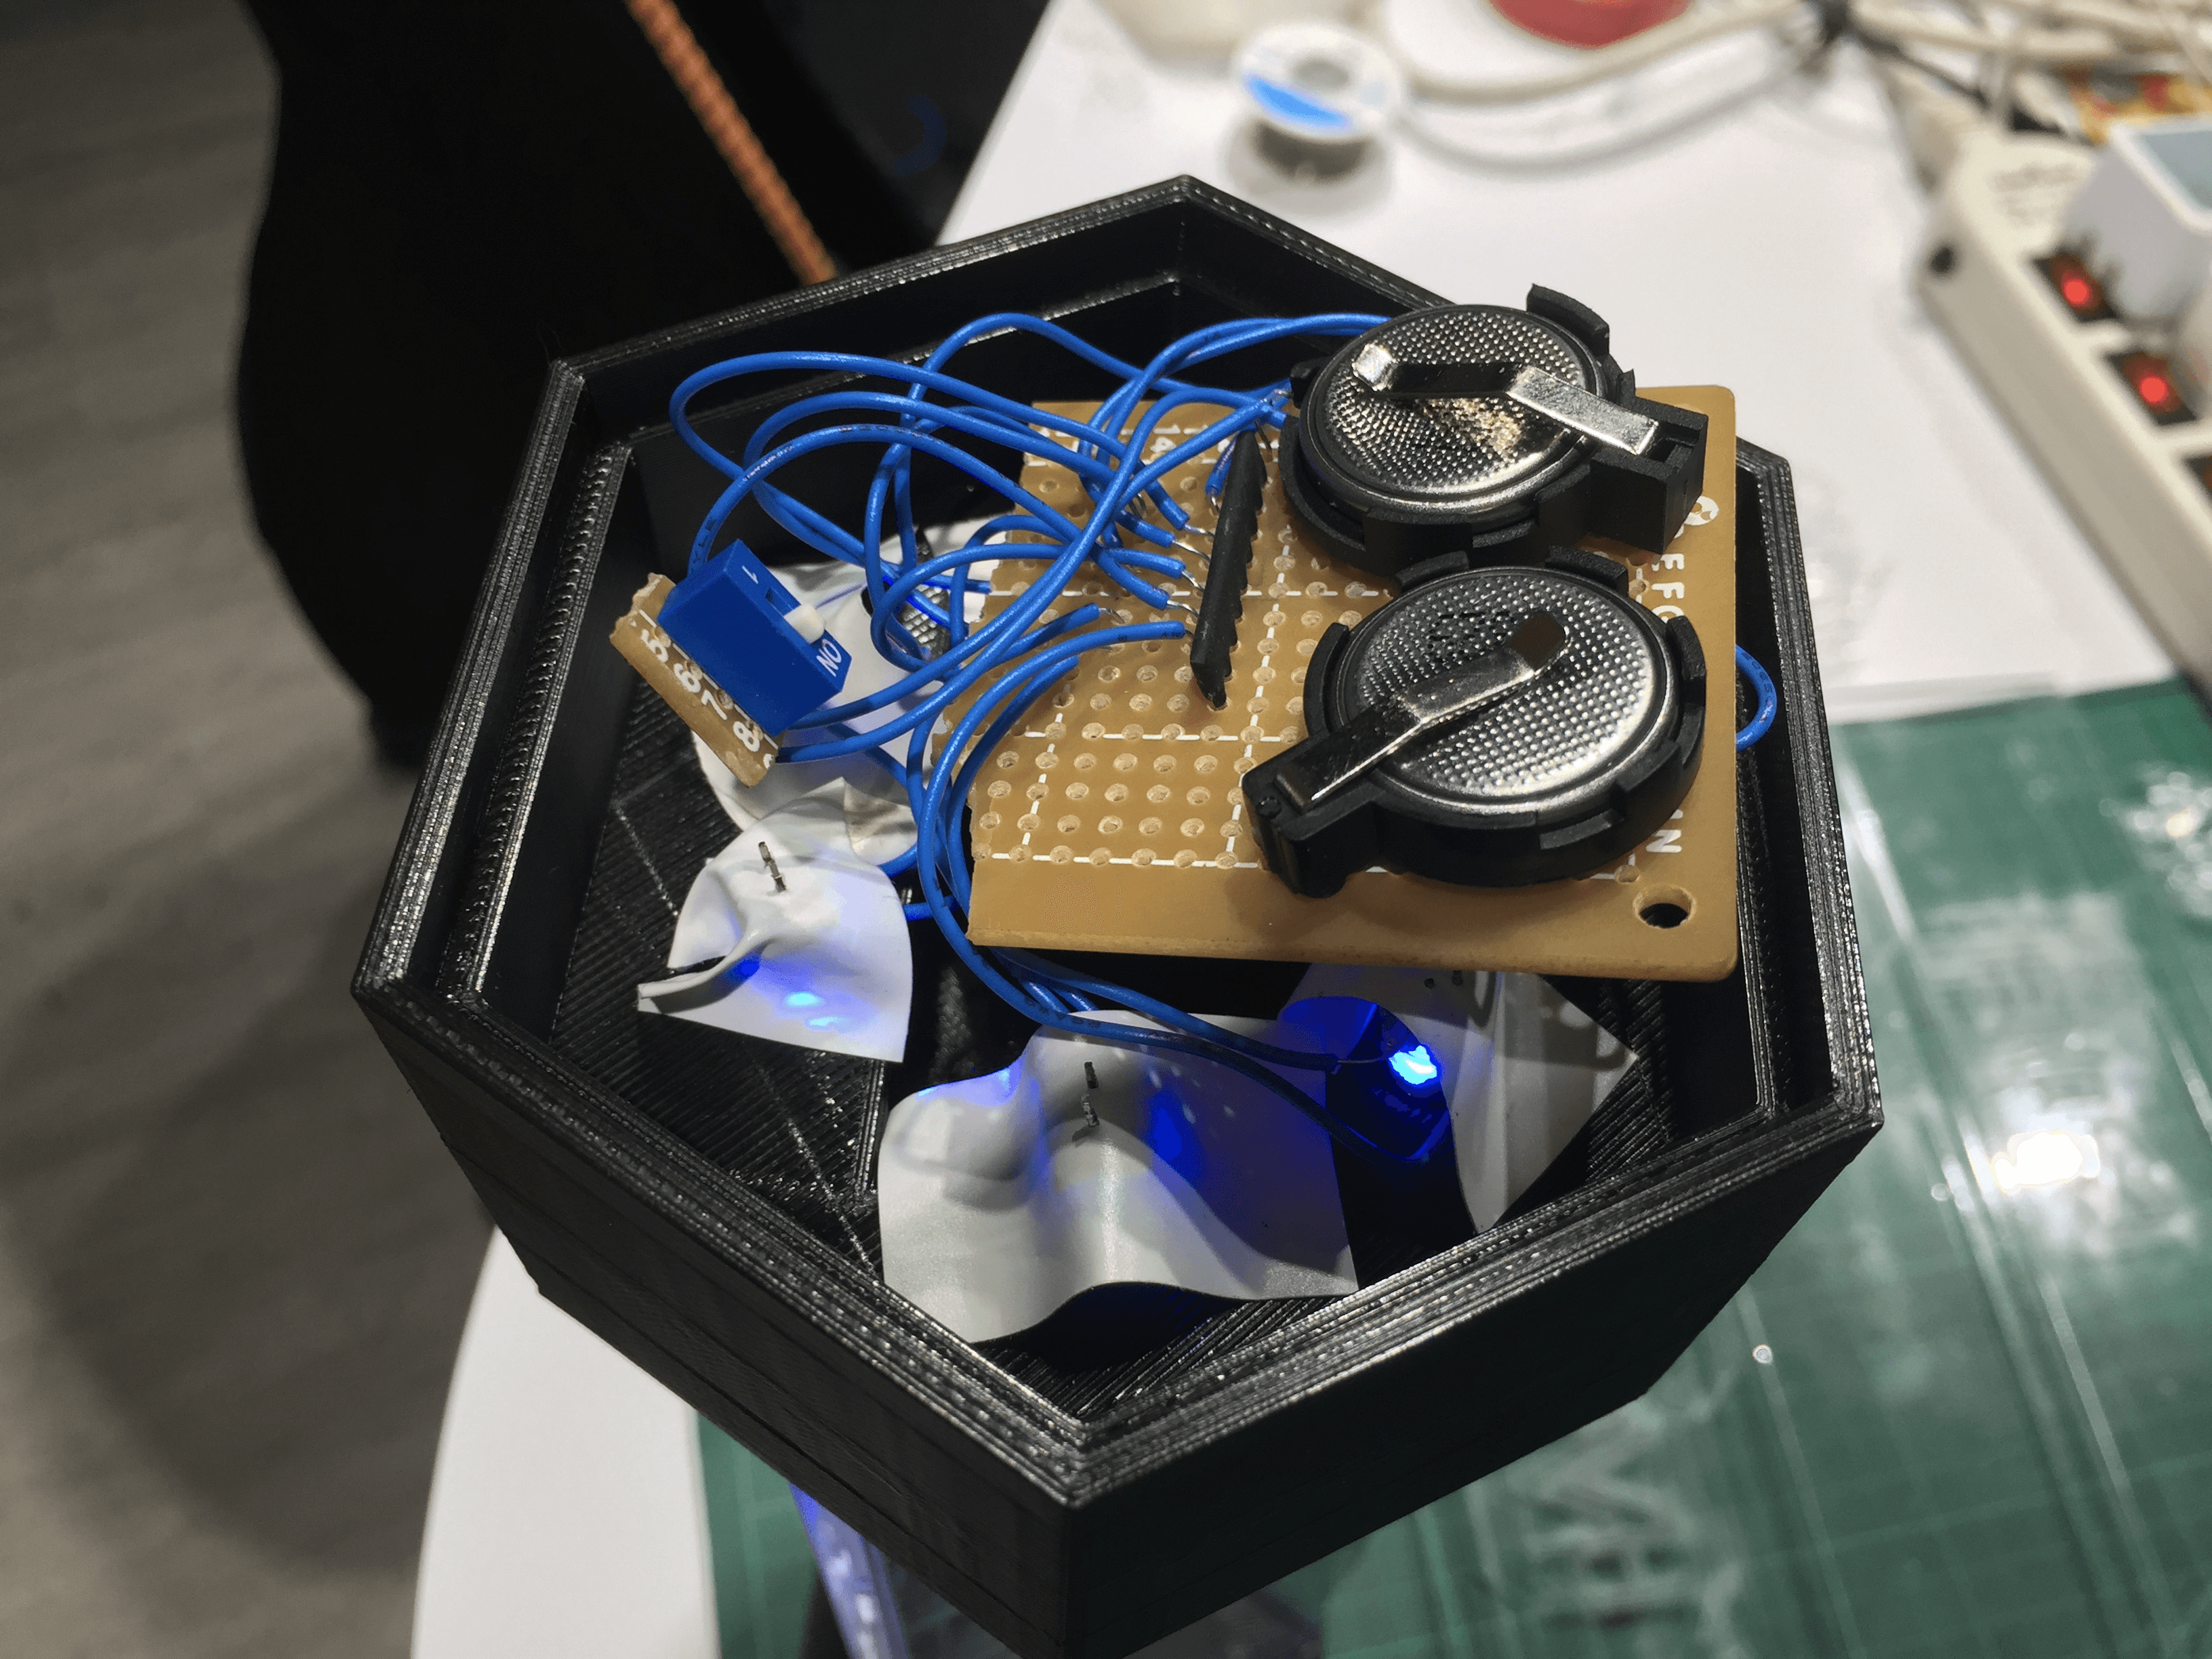
First, insert the circuit into the upper base, which has holes for 6 LEDs. To fix the LEDs, we used hot melt glue and tape. There's a hole on the side for the toggle switch, just insert it. The perforated board of the circuit body should be cut as small as possible, otherwise, it won't fit in the upper base. We didn't fix the circuit body to the upper base; the circuit actually won't move much once the lid is put on.
Assembly of the upper base and circuit:
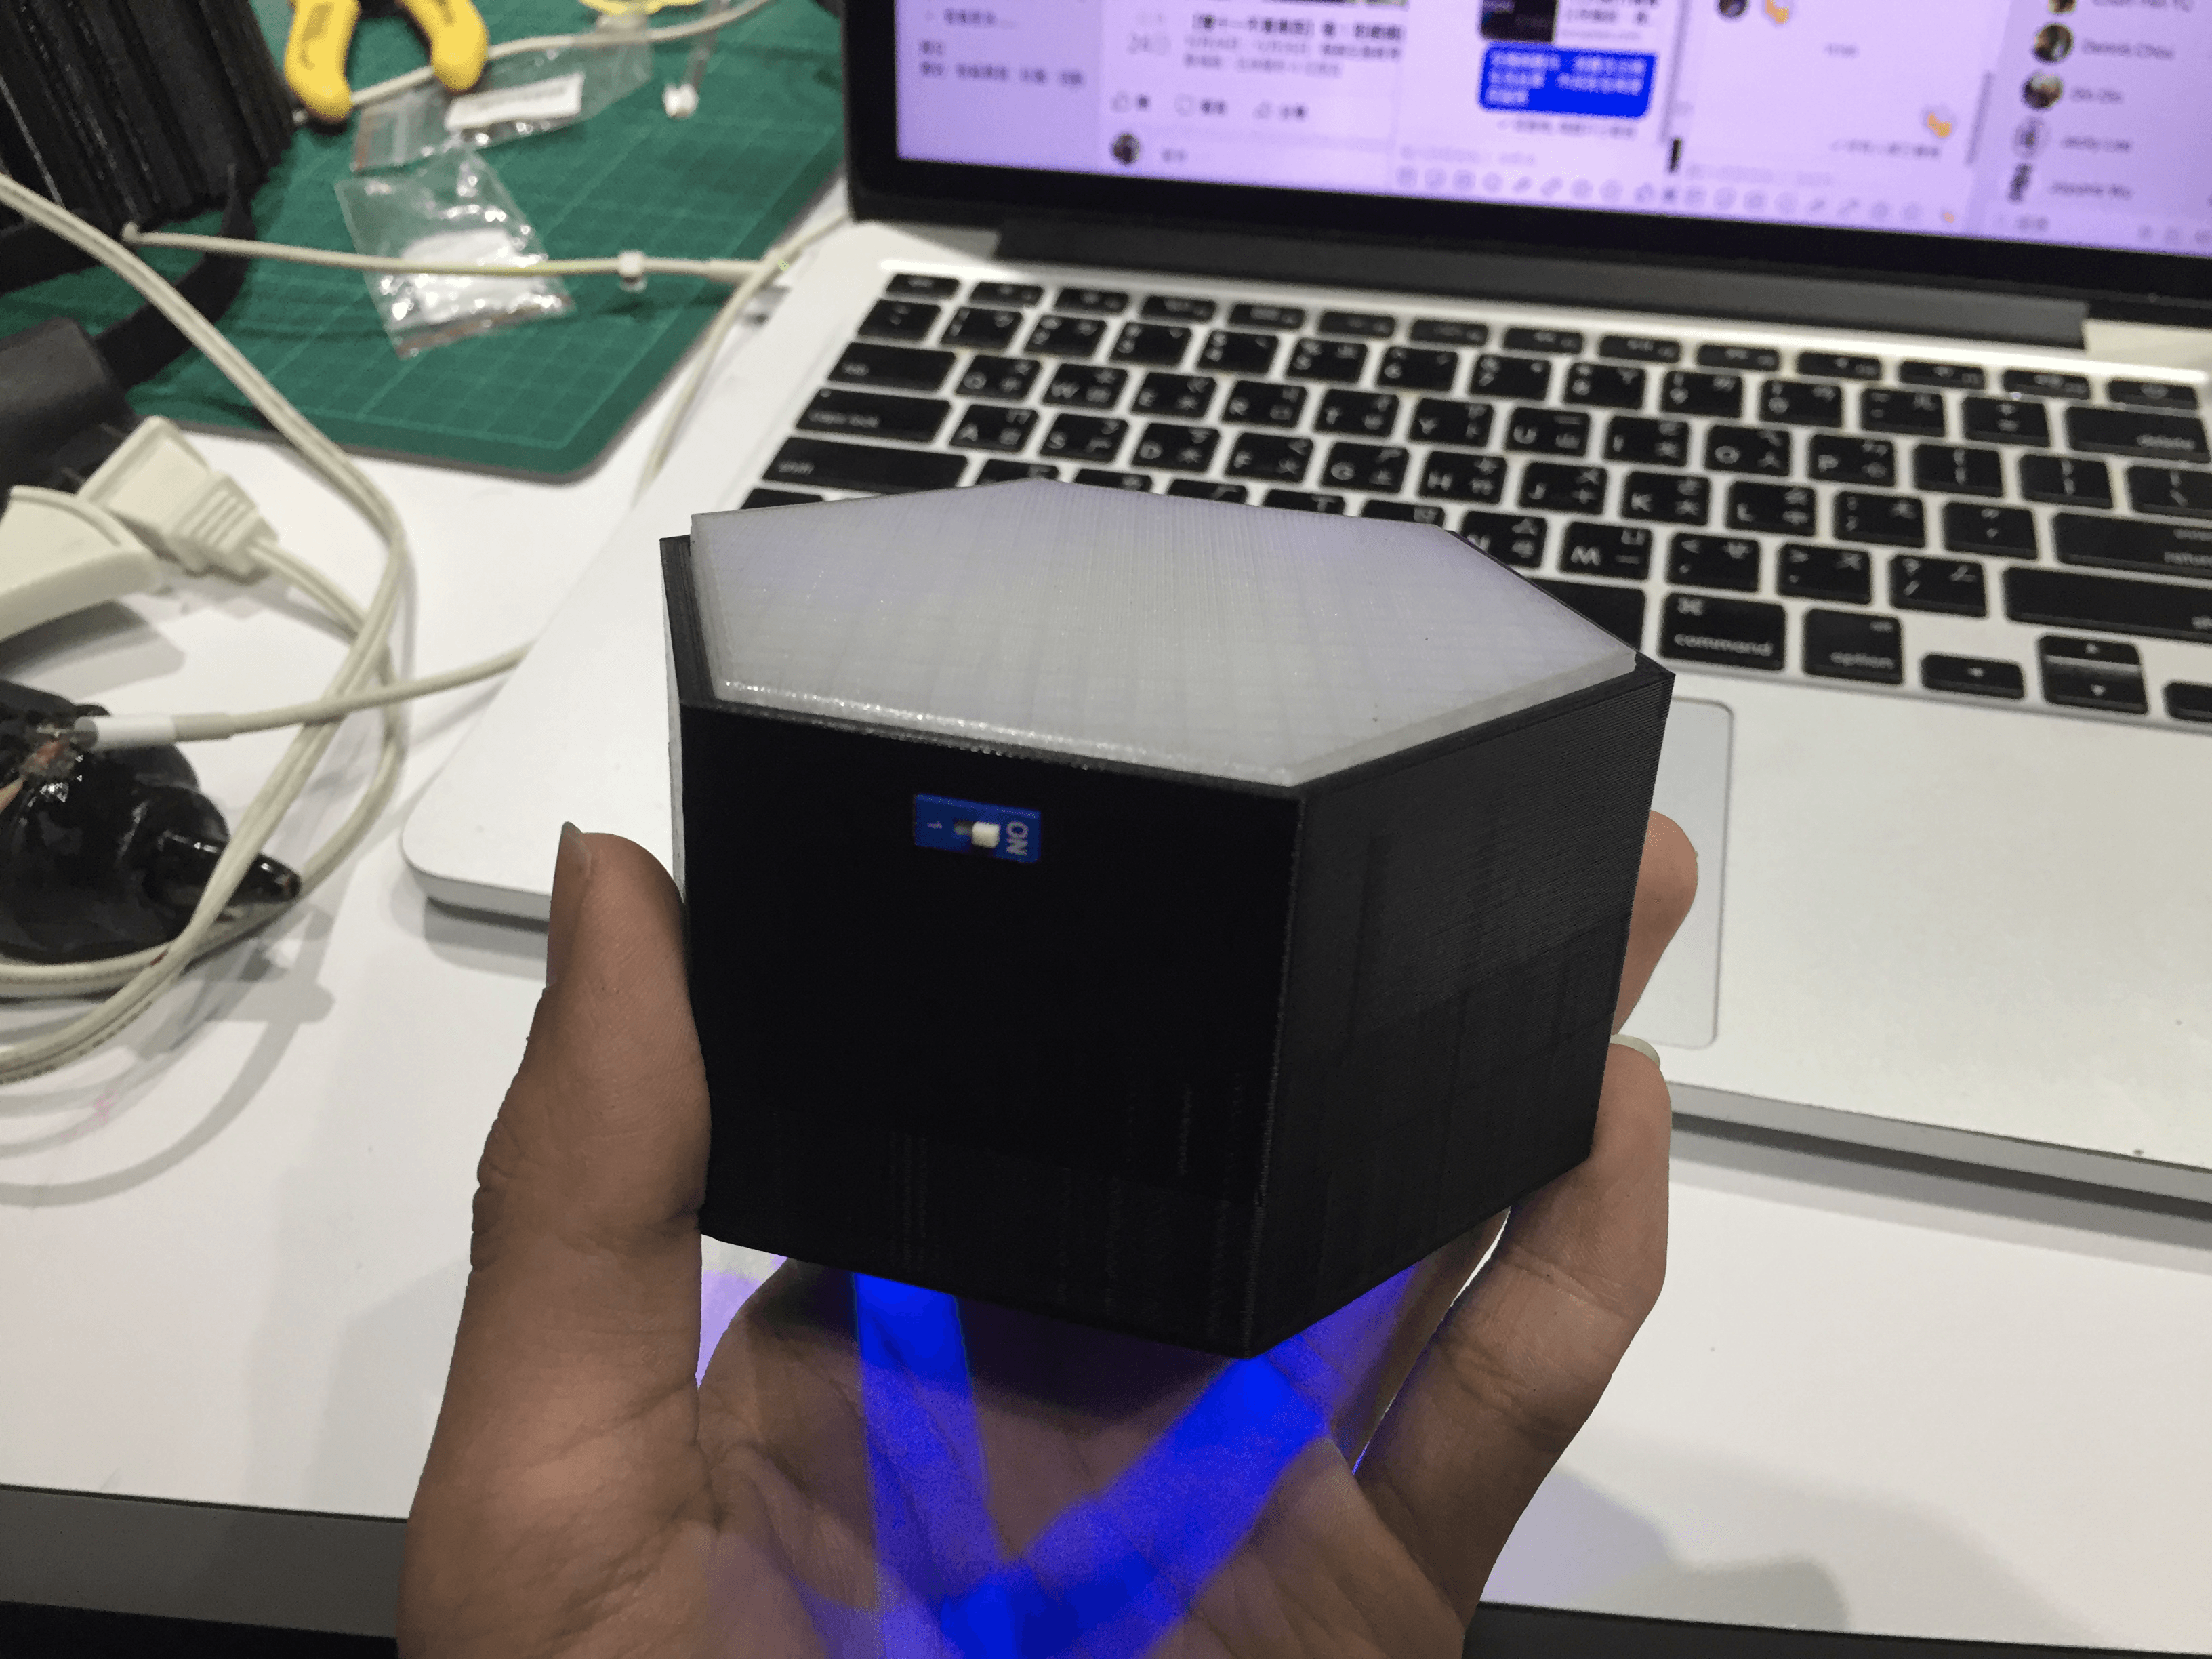
Cover the lid and test the LED effect:
Next, clamp the three acrylic plates into the upper base, then add the base, and finally insert 3 soft triangular plastic strips, and
the trophy is completed!
Results
We finally assembled 3 trophies
It was an honor to have them held by the handsome mayor at the opening press conference: